
#TuckedInCottageOnBunkerHill
year: 2022
type: residential
designer: S.Flynn
style: modern, inviting, natural
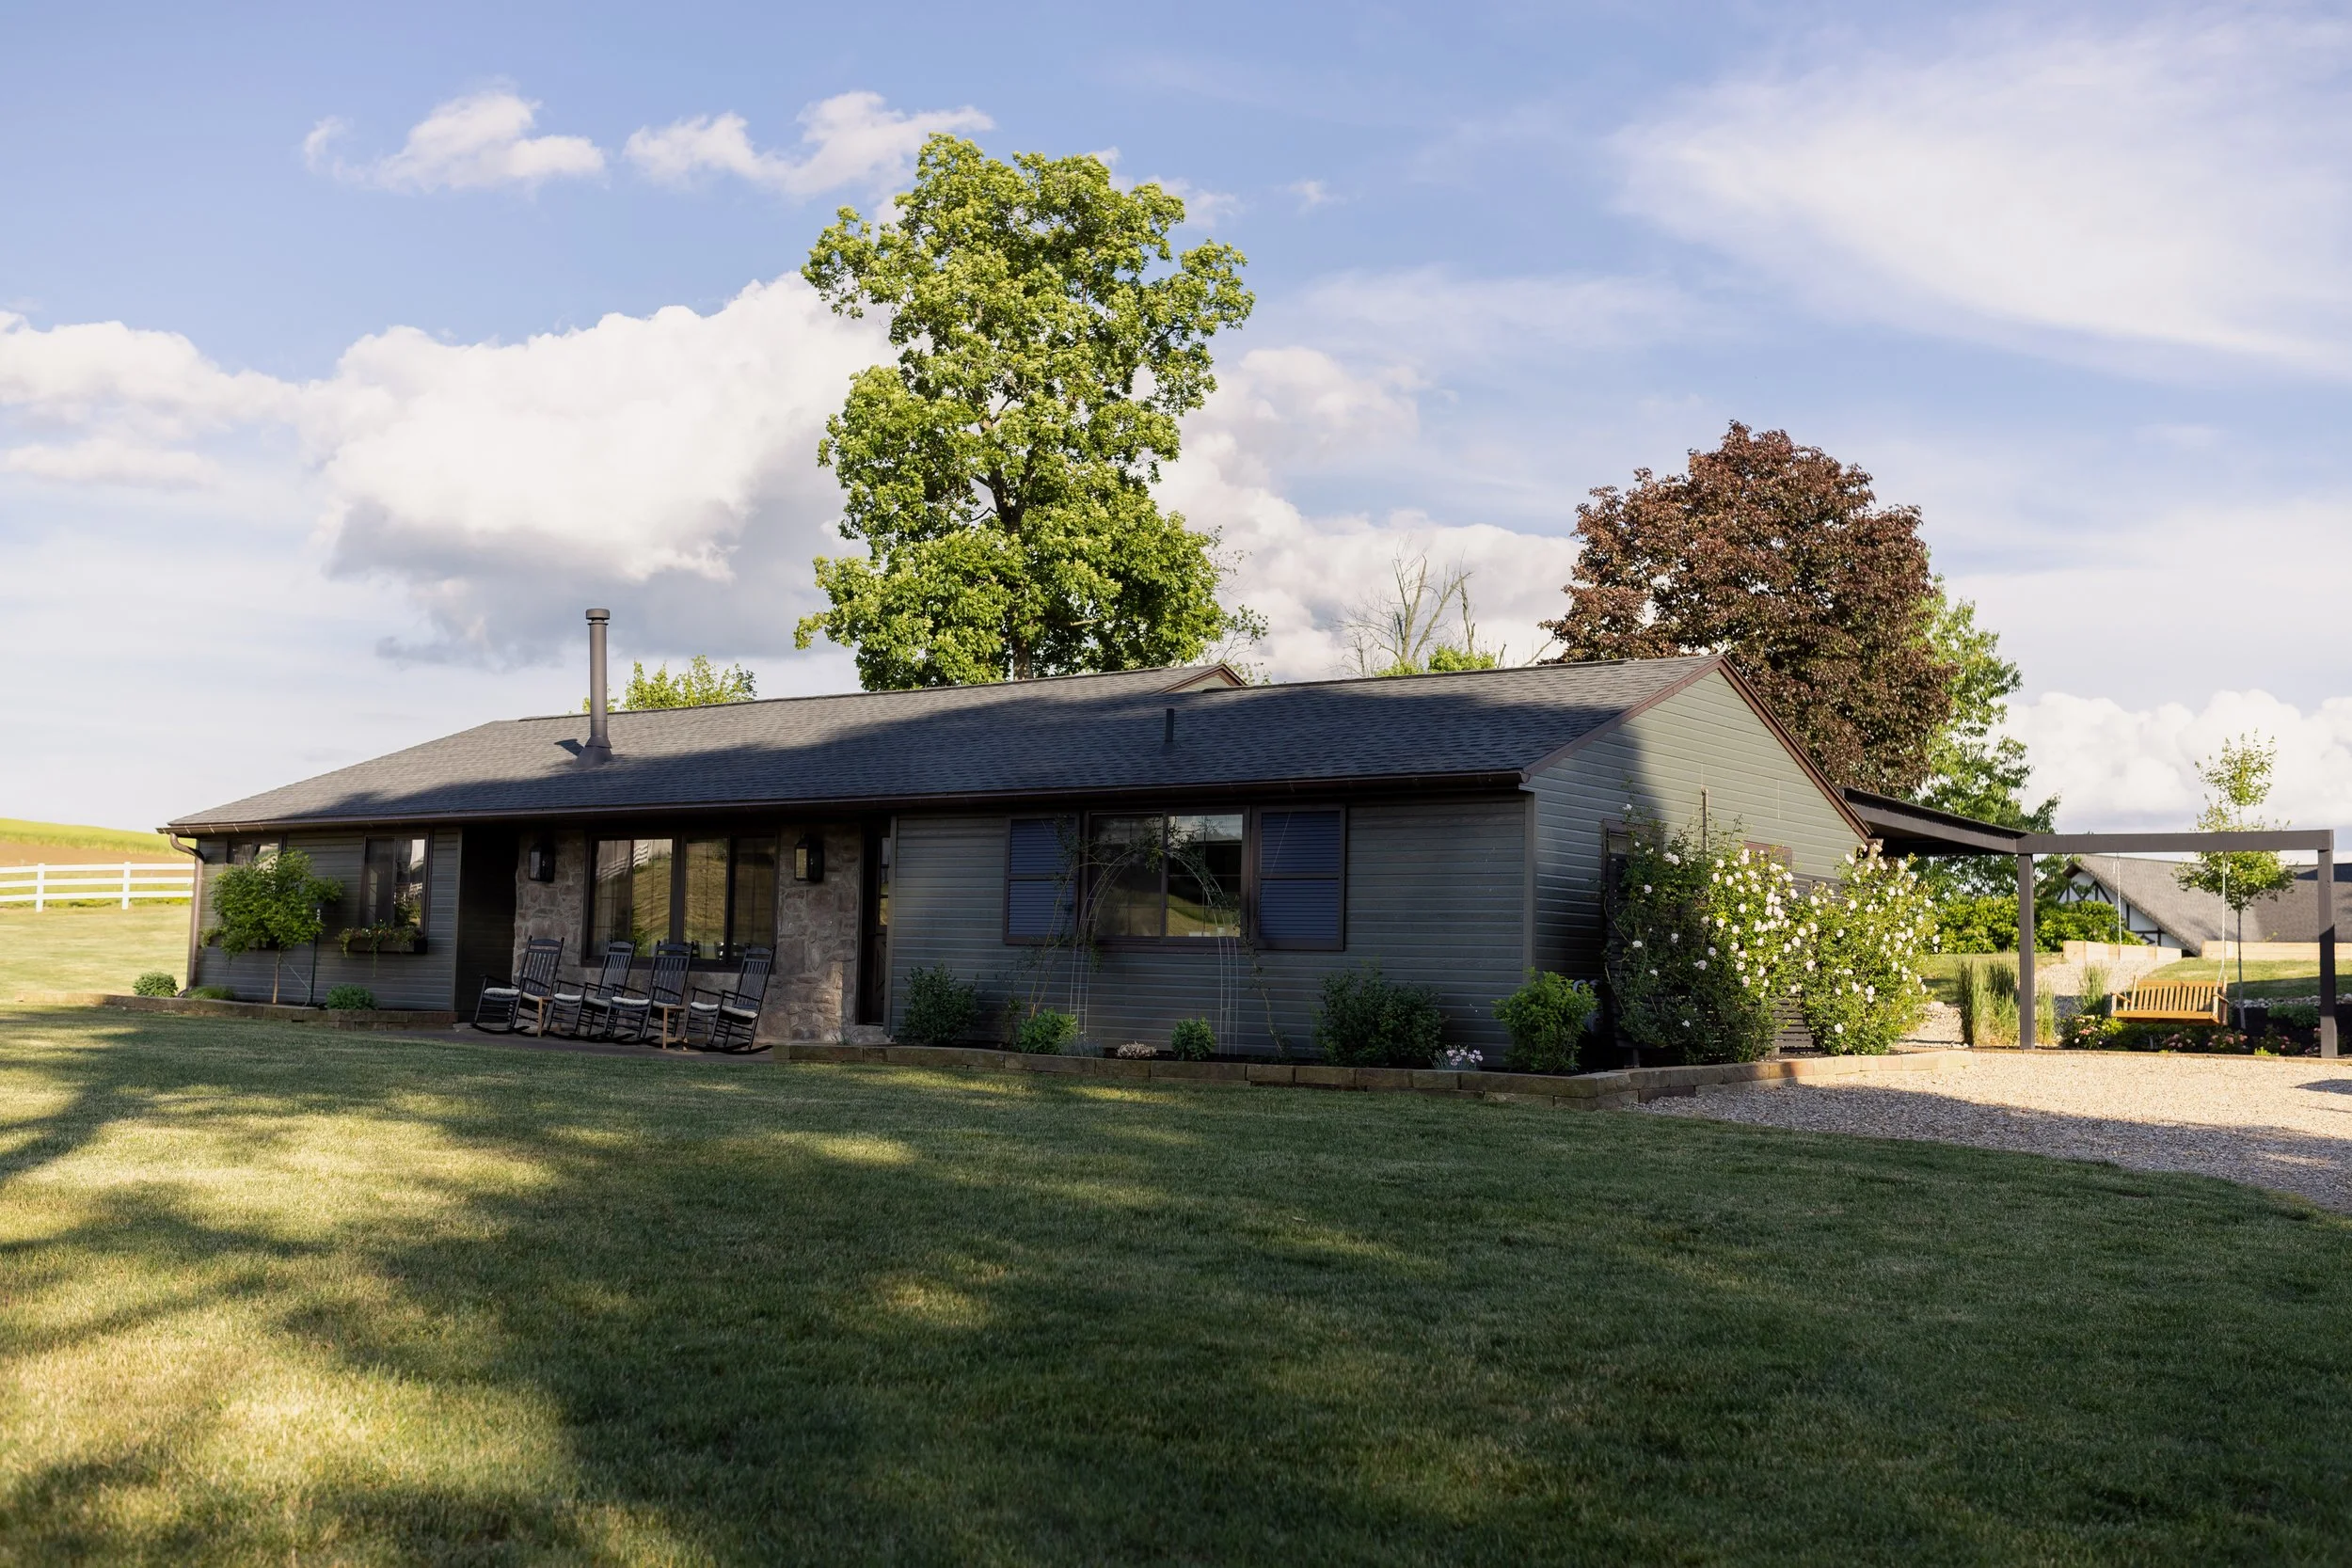
My husband, Kyle, and I purchased our ranch-style home five years ago, knowing it needed some work. Since then, we’ve poured our hearts into remodeling the interior—something we share throughout the Tucked In Cottage series. The changes completely transformed our 70s-style home into the modern, clean, and cozy space we had envisioned from the start.
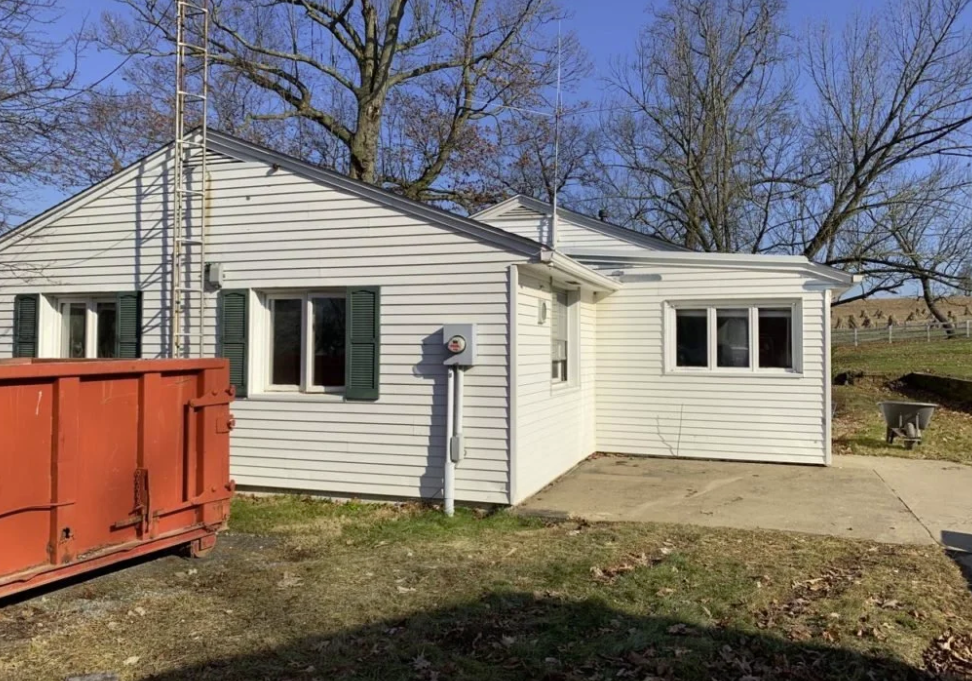
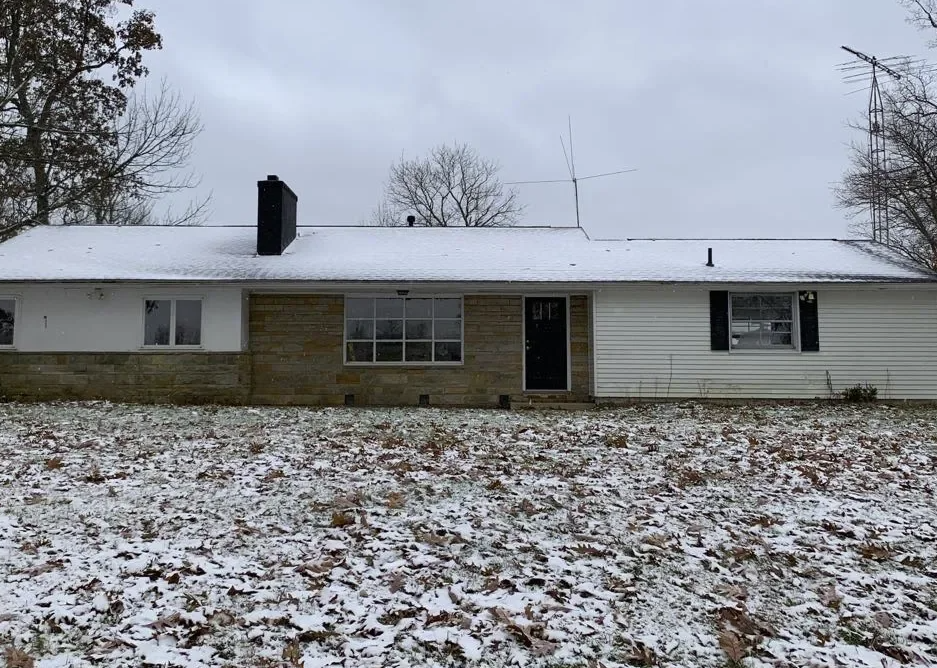
But from the outside, you’d never guess what the inside looked like. The exterior still felt dated and disconnected from all the updates within—there was no landscaping, several dead trees that were at risk of falling, and a crumbling retaining wall in the back that had become a safety concern.
The final step in our renovation was reimagining the exterior to better reflect the home as a whole—improving safety, functionality, and overall curb appeal. With a lot to tackle and a strict budget guiding our decisions, we approached it thoughtfully. If you’re considering an exterior renovation, let this be your guide!
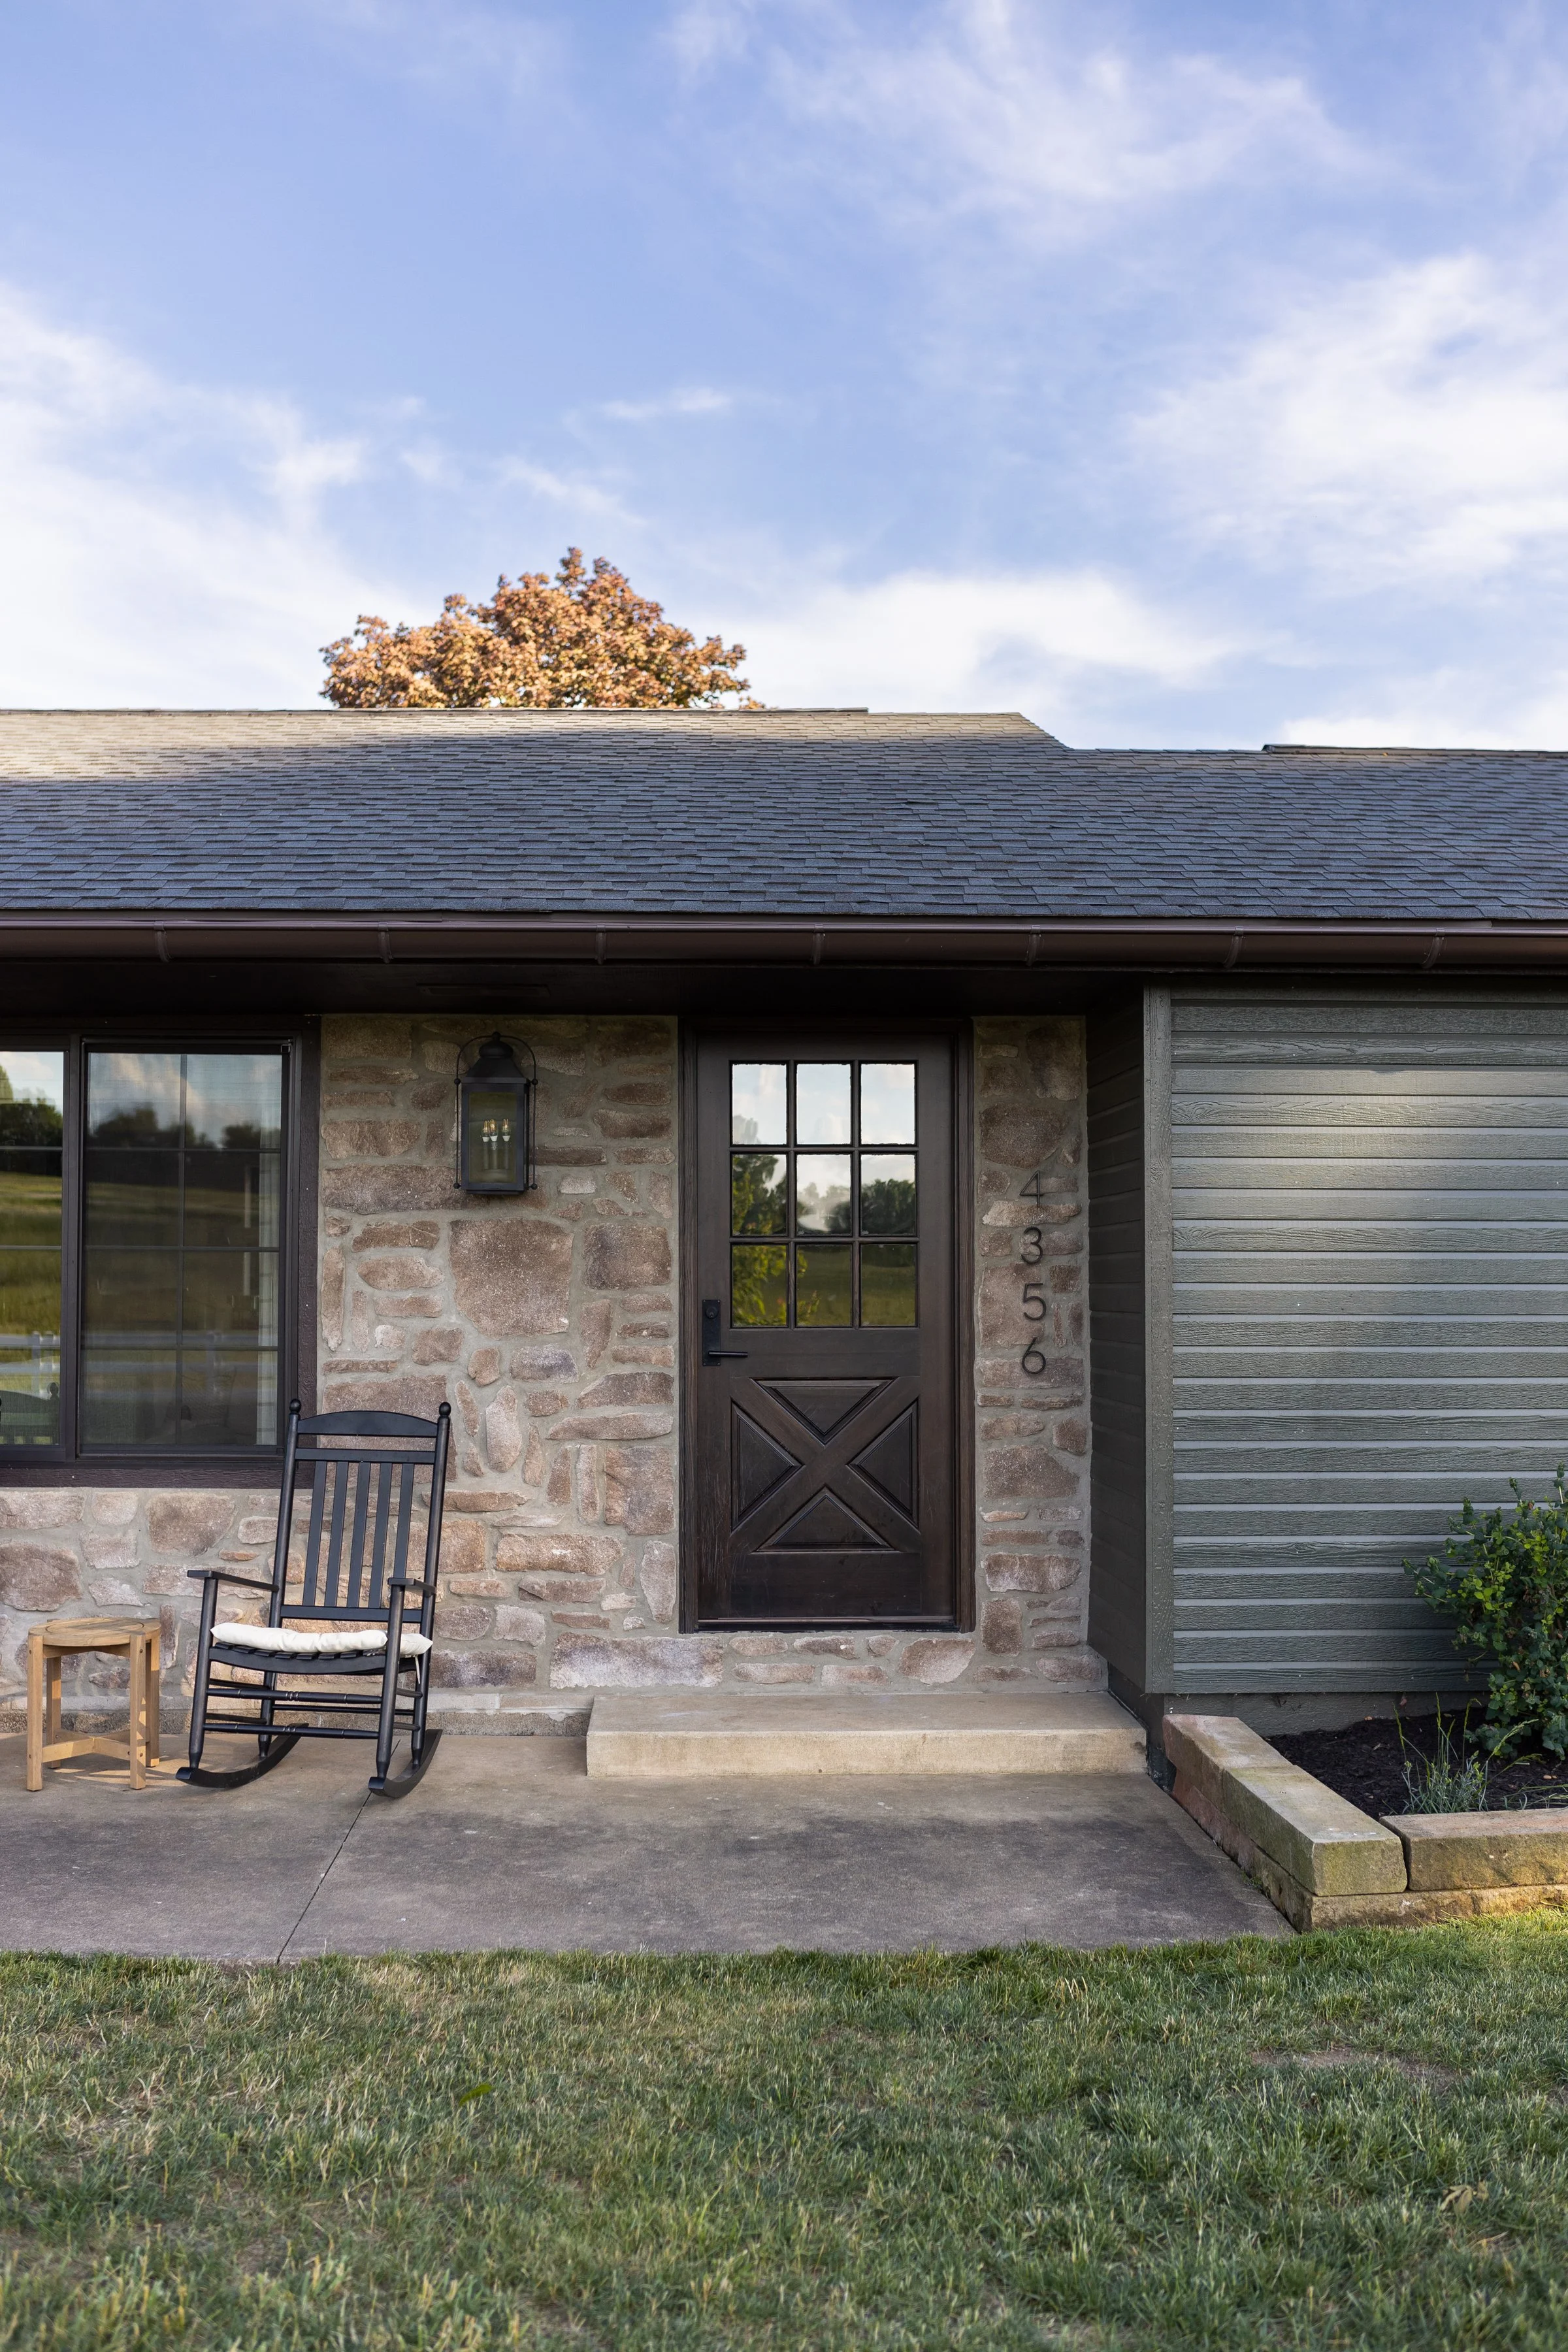
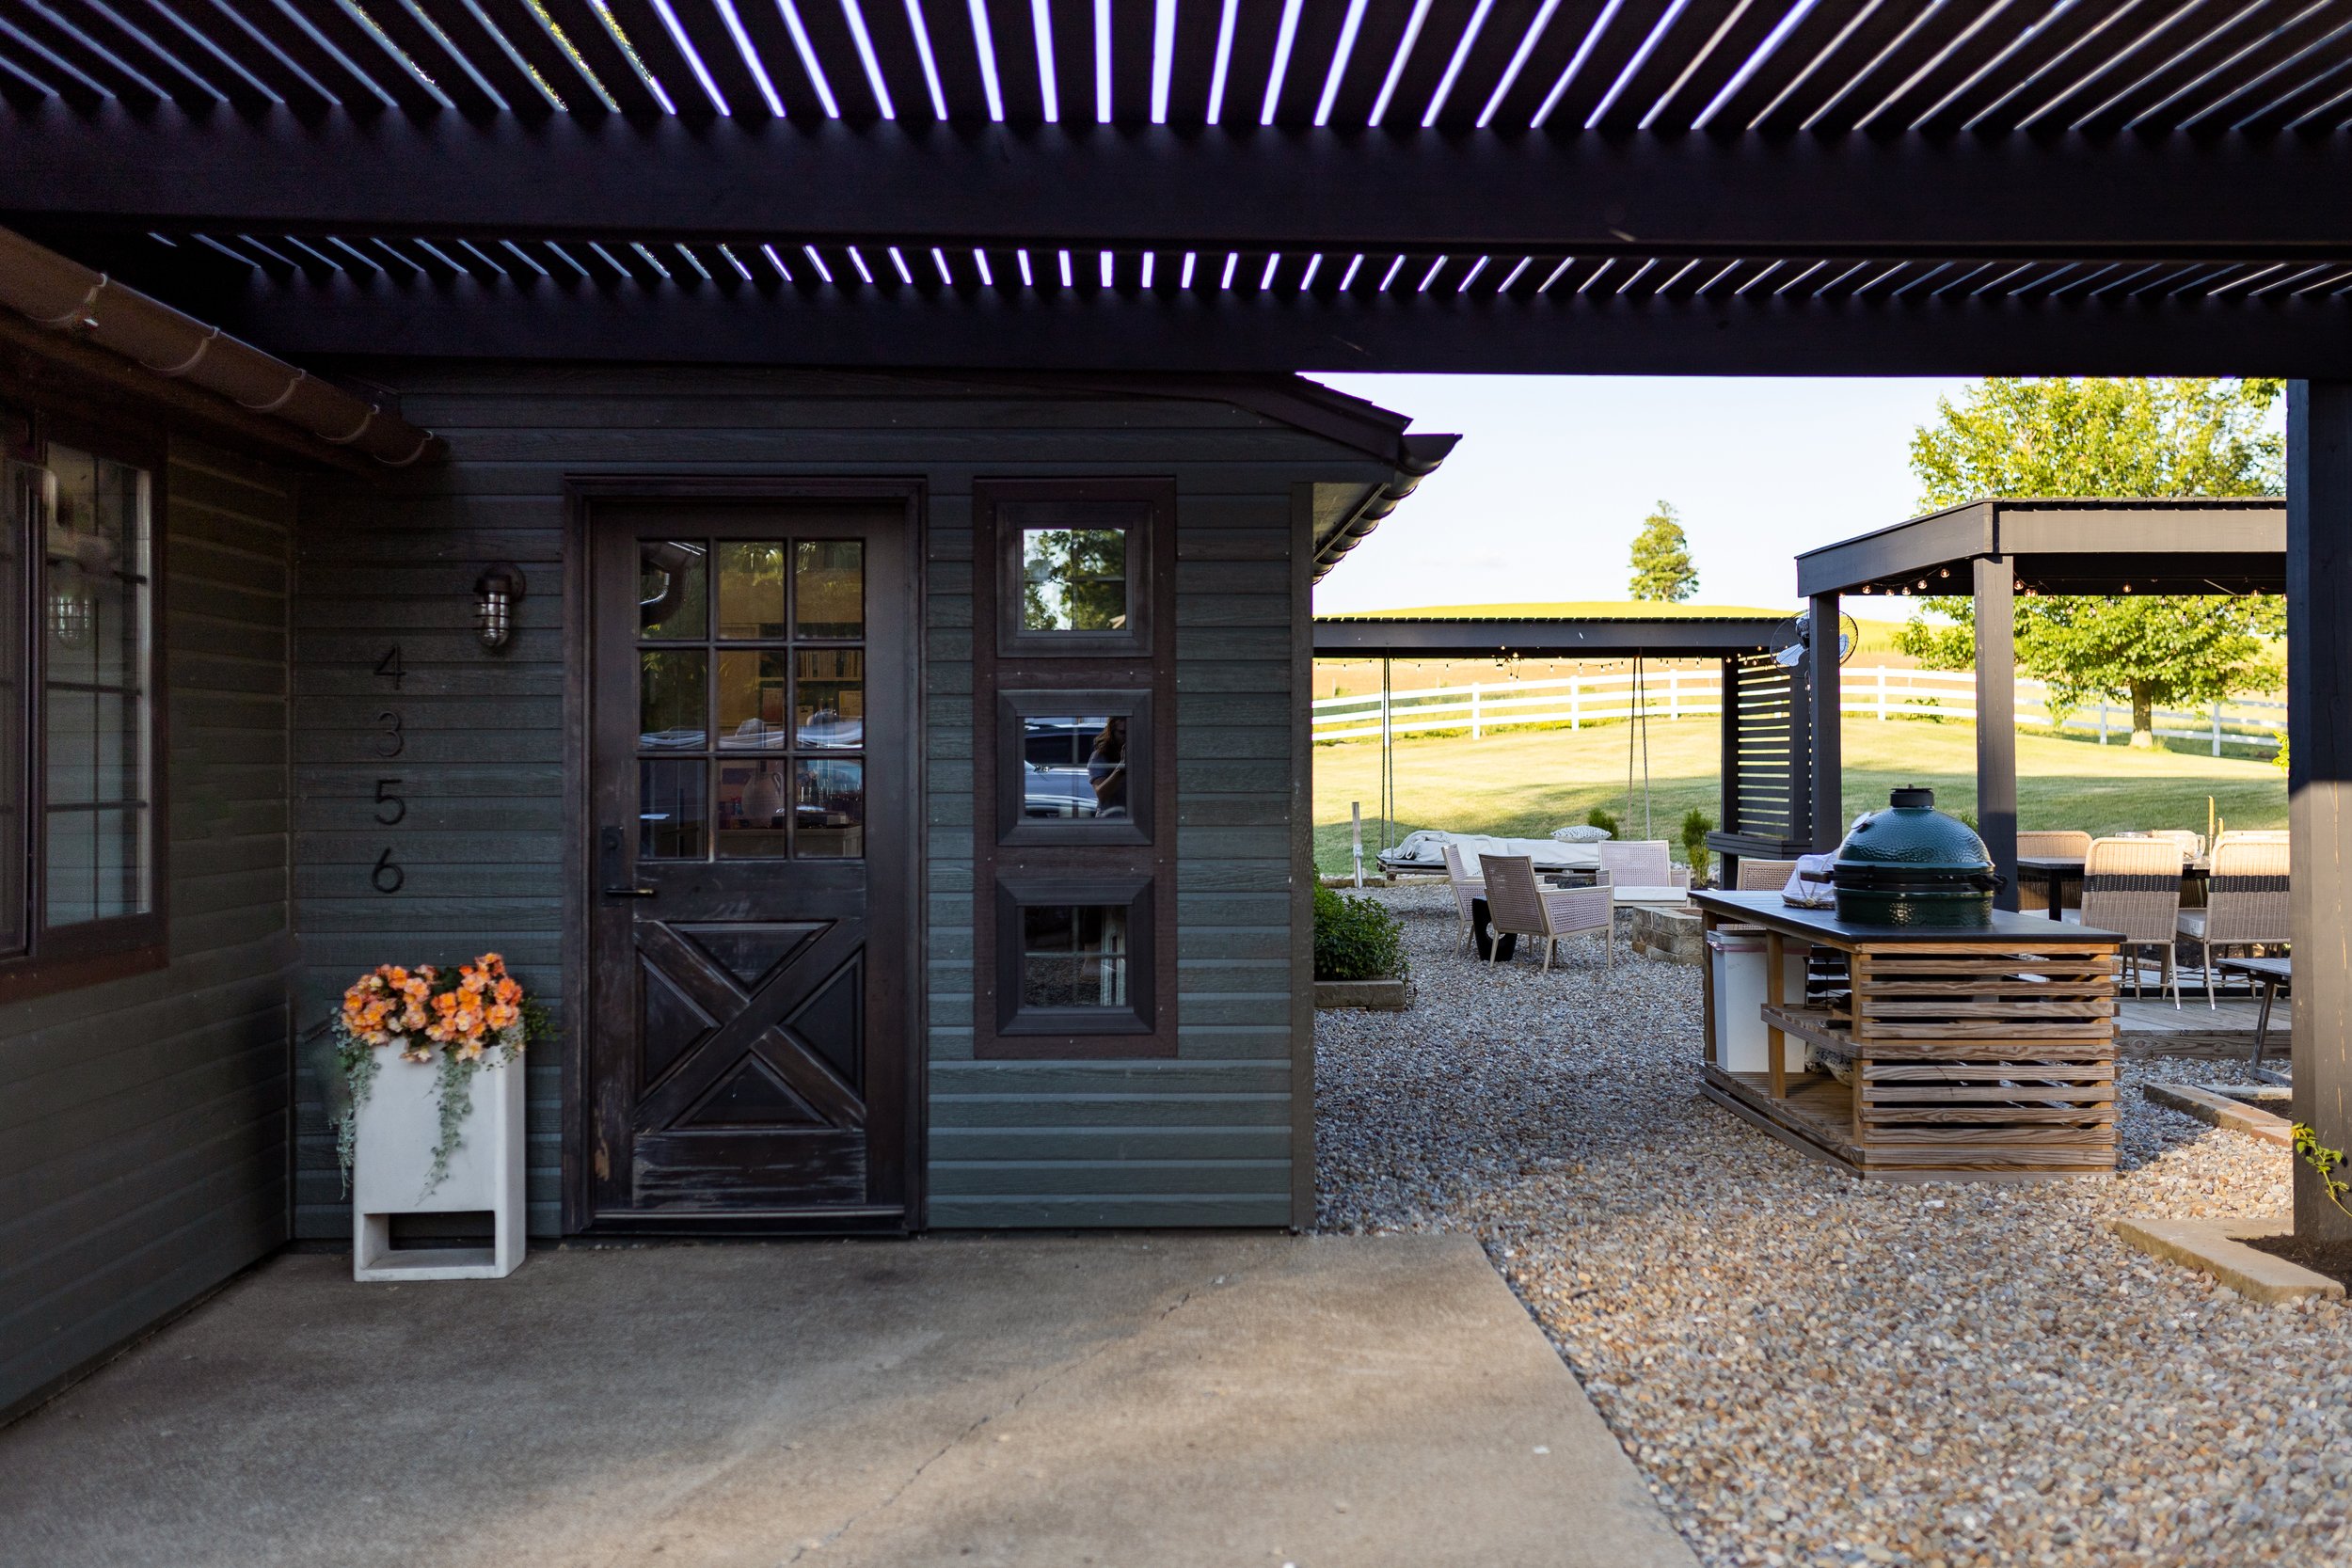
First up, we wanted to give the exterior a facelift. Four-inch lap siding may not be the most innovative design idea, but accentuating height with tall, vertical siding like board and batten wouldn’t have improved the appearance of our low, long ranch house. So to make the most out of our horizontal siding, we chose a moody, deep green shade to maximize the hidden, modern cottage vibes. Now, the outside of our home perfectly complements our interior living spaces.
If I could offer you some advice for your exterior remodel on a budget, I’d tell you to do the same. For a house that’s short and squat like mine, just work with what you have!
Modern Cottage Exterior Renovation
01.
Before
Before
After
After
Backyard Landscaping for Entertaining
02.
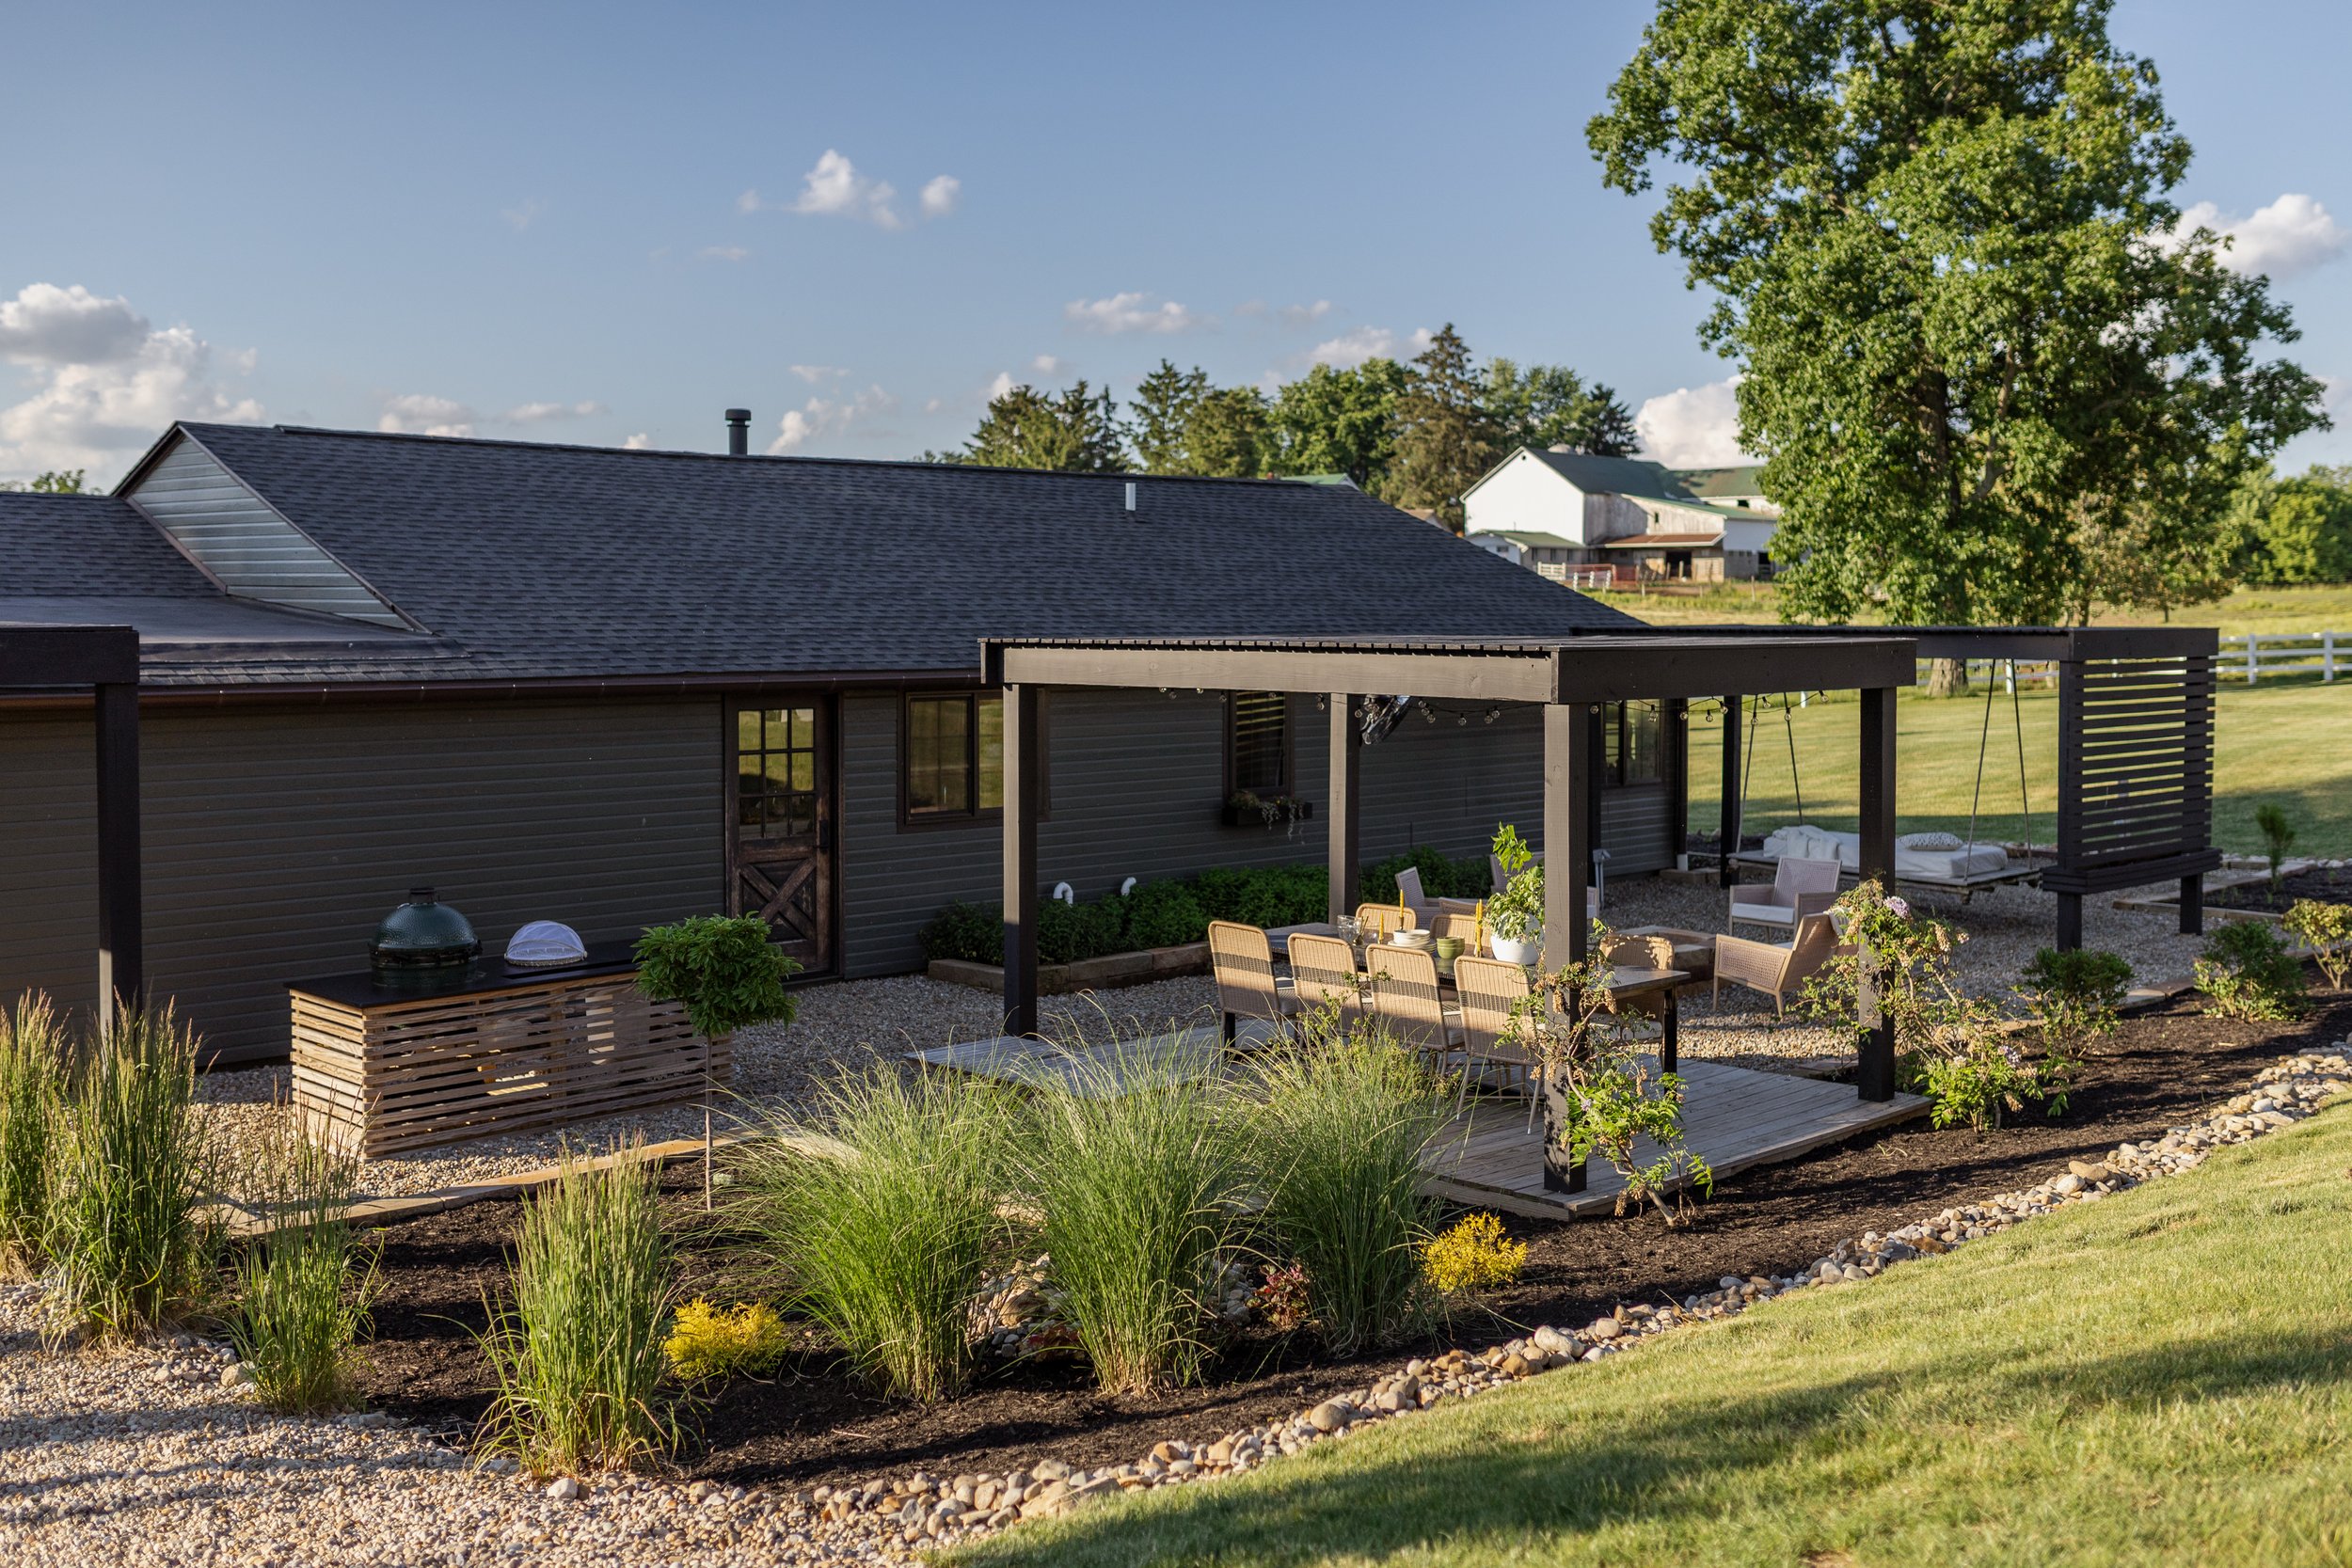
Once we removed the dead and falling trees, tore down the dilapidated retaining wall, and excavated a hill, we had a blank slate to work with. Kyle was actually able to salvage the retaining wall stones, which he used to create a border around the entire exterior living space. In a perfect world, we would have put concrete down across the length of the backyard, but we’re not quite there yet, so we used #57 Limestone Gravel for the time being.
My family loves to spend time outside during the warmer months. So ultimately, we wanted our backyard to be a comfortable spot for entertaining. With that in mind, we designed an entertainer’s dream with several distinct living spaces:
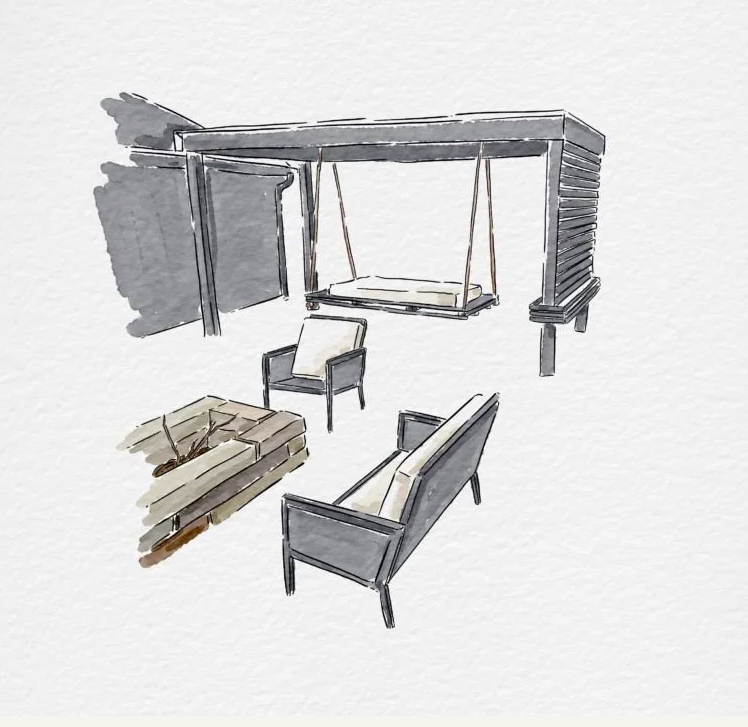
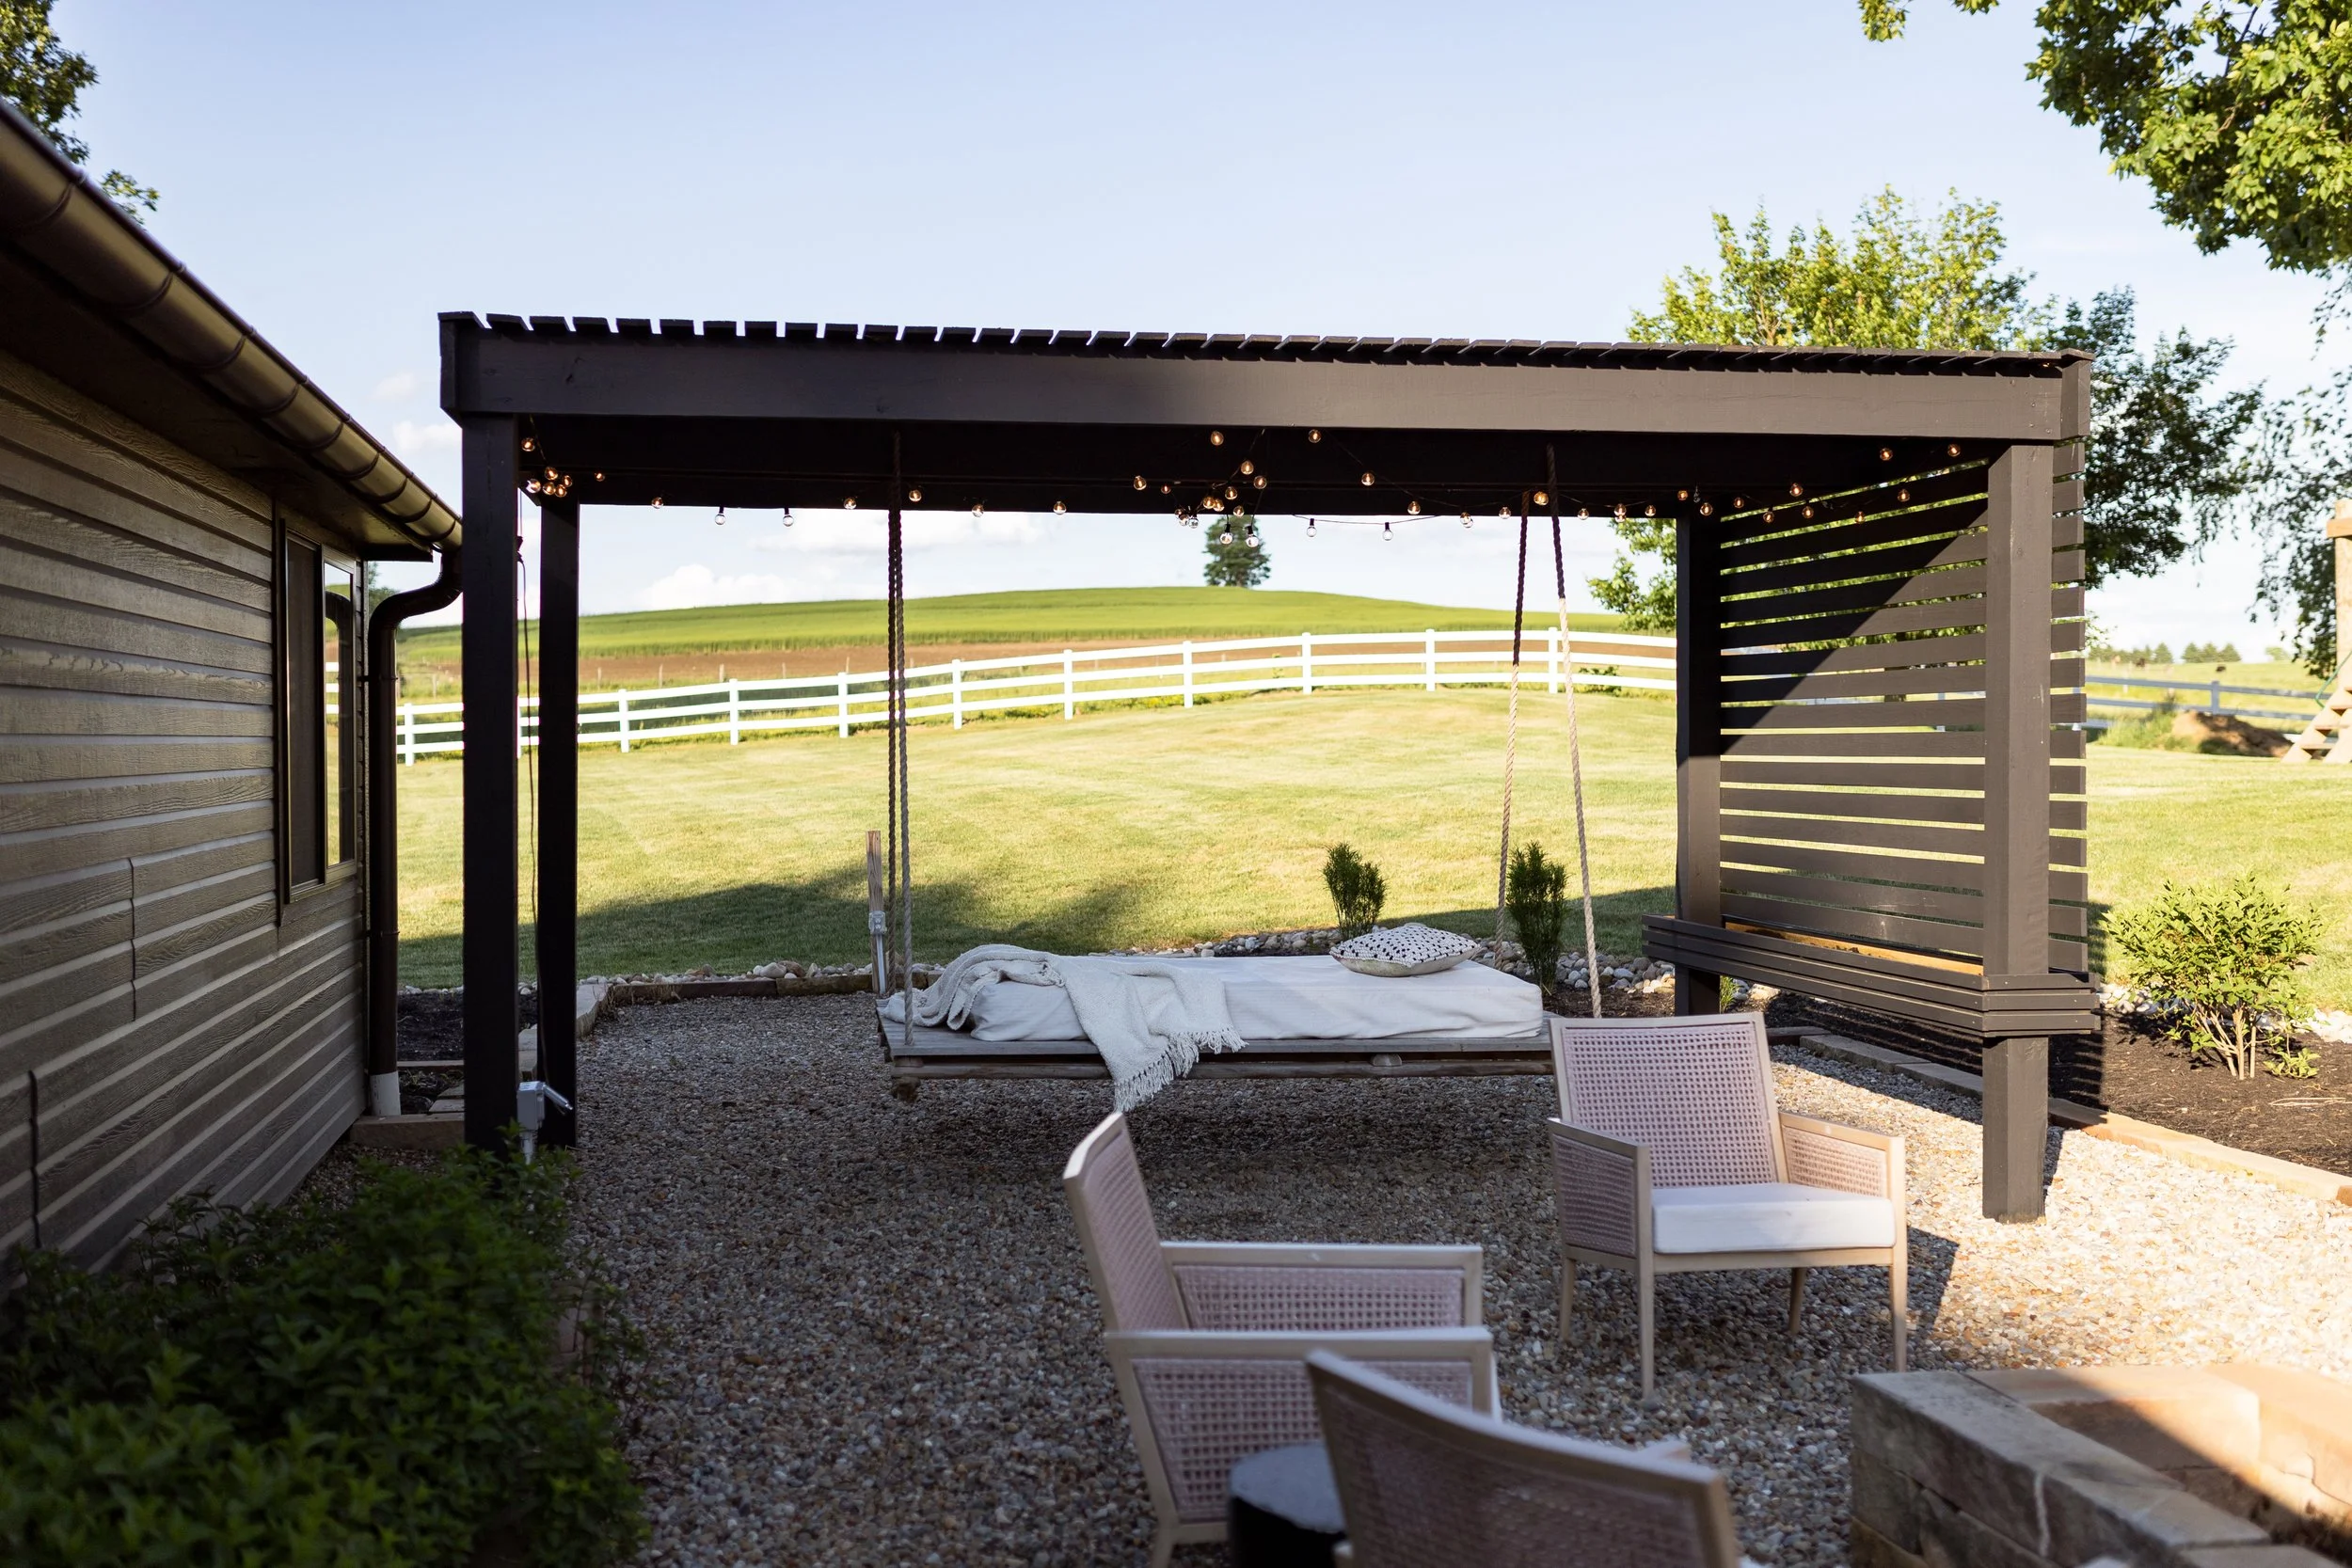
We wanted to designate a relaxed seating area for casual conversation, and there’s no better setup than a fire to bring people together. We installed a fire ring and selected chairs from Studio McGee’s Outdoor Collection at Target. However, we chose to swap the cushions for a more durable fabric from a local upholstery shop. If your budget allows, I highly recommend investing in weatherproof furniture that will last.
For maximum comfort and relaxation, we also added a swinging bed—made from a twin mattress enclosed in a mattress protector—adjacent to the seating area.
Adult + Kid Friendly-Dining Spaces
03.
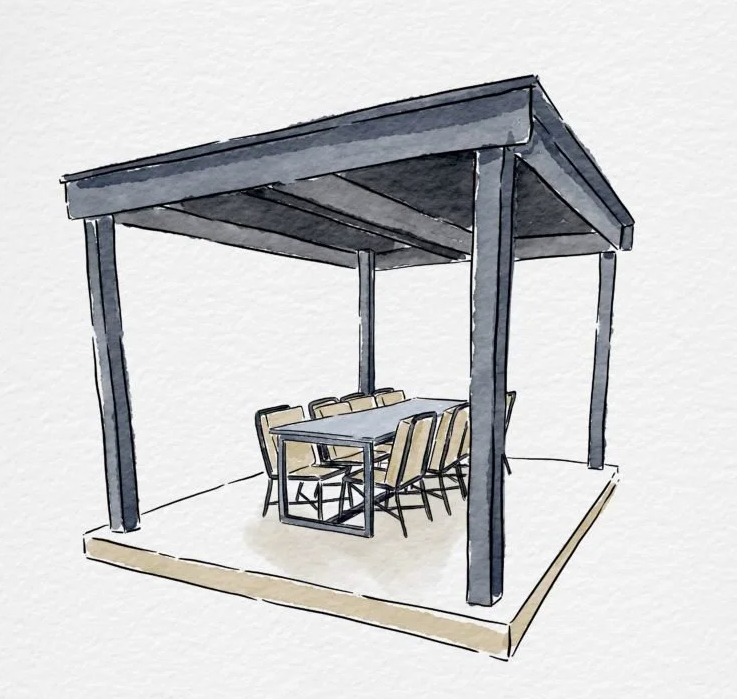
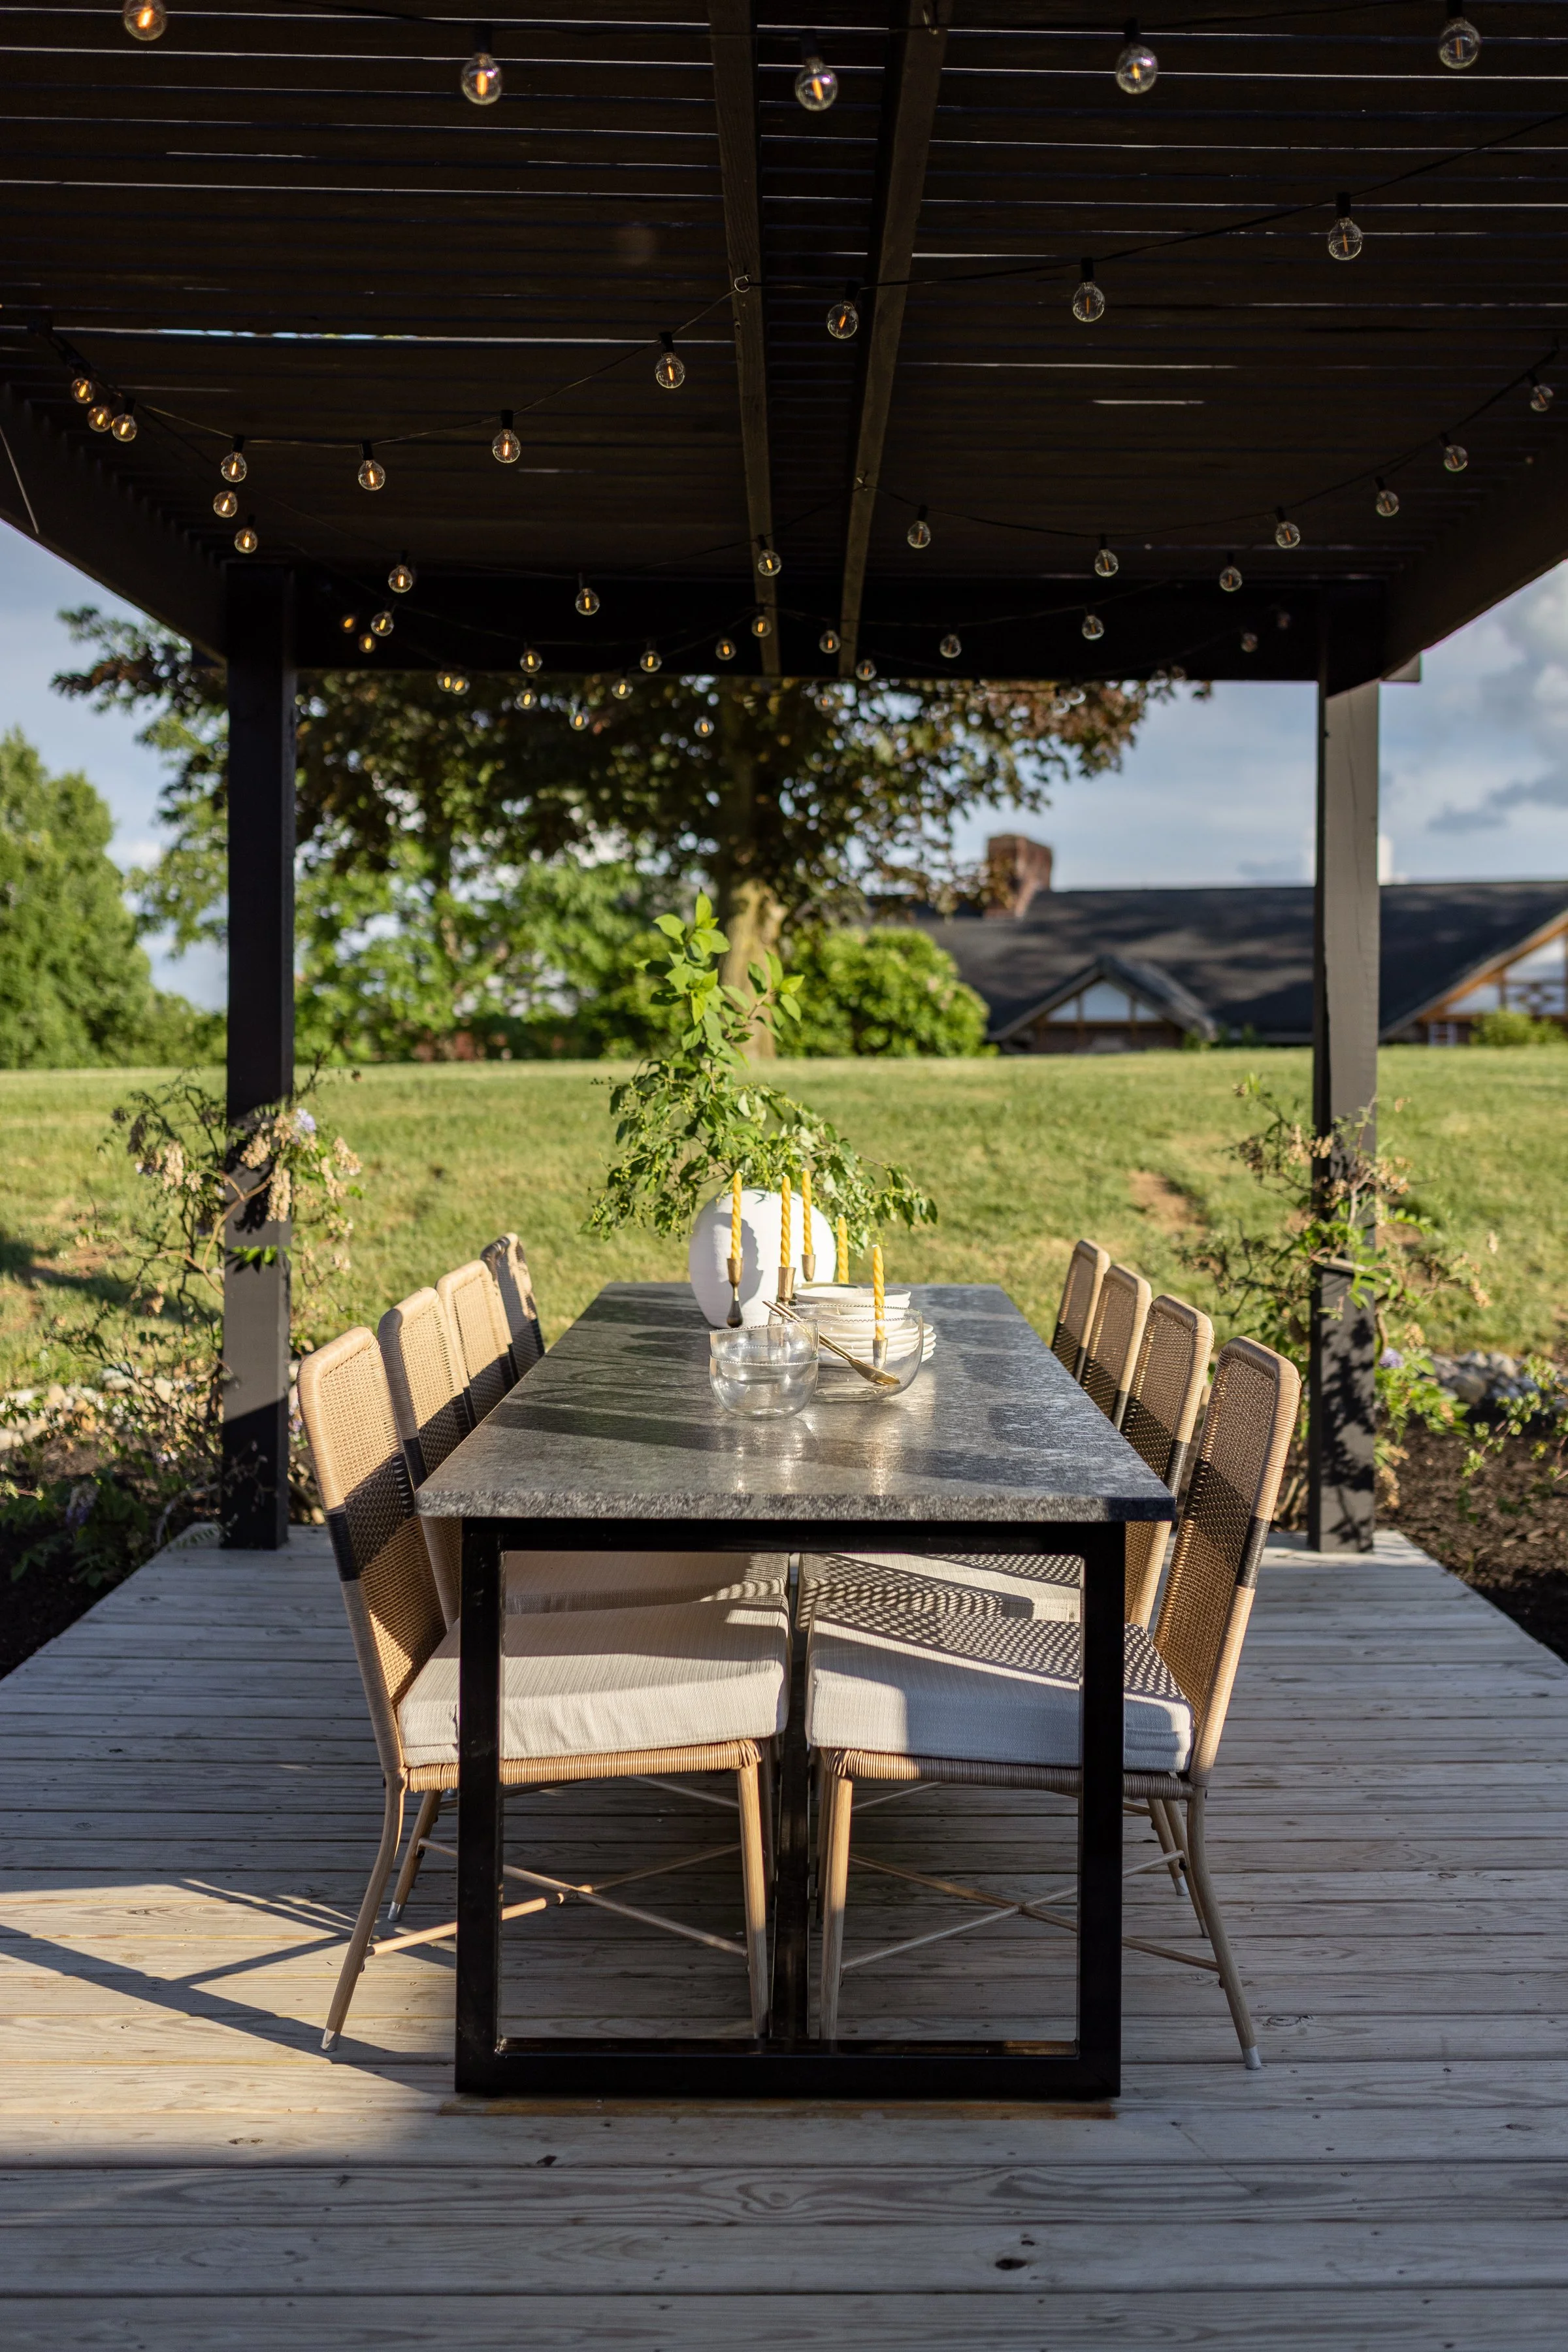
In addition to a casual seating area, we also wanted to incorporate a more elevated dining space. We used an inexpensive table base created by a local metal shop and black honed granite slab as the tabletop. (This is a really easy DIY if you’re struggling to find an outdoor dining table within your budget!)
To keep the design cohesive with the rest of the outdoor space, we selected affordable dining chairs from Target that coordinate with the fire pit chairs, added a modern, neutral planter from S. Flynn Home, and hung some fun cafe lights that set the mood.
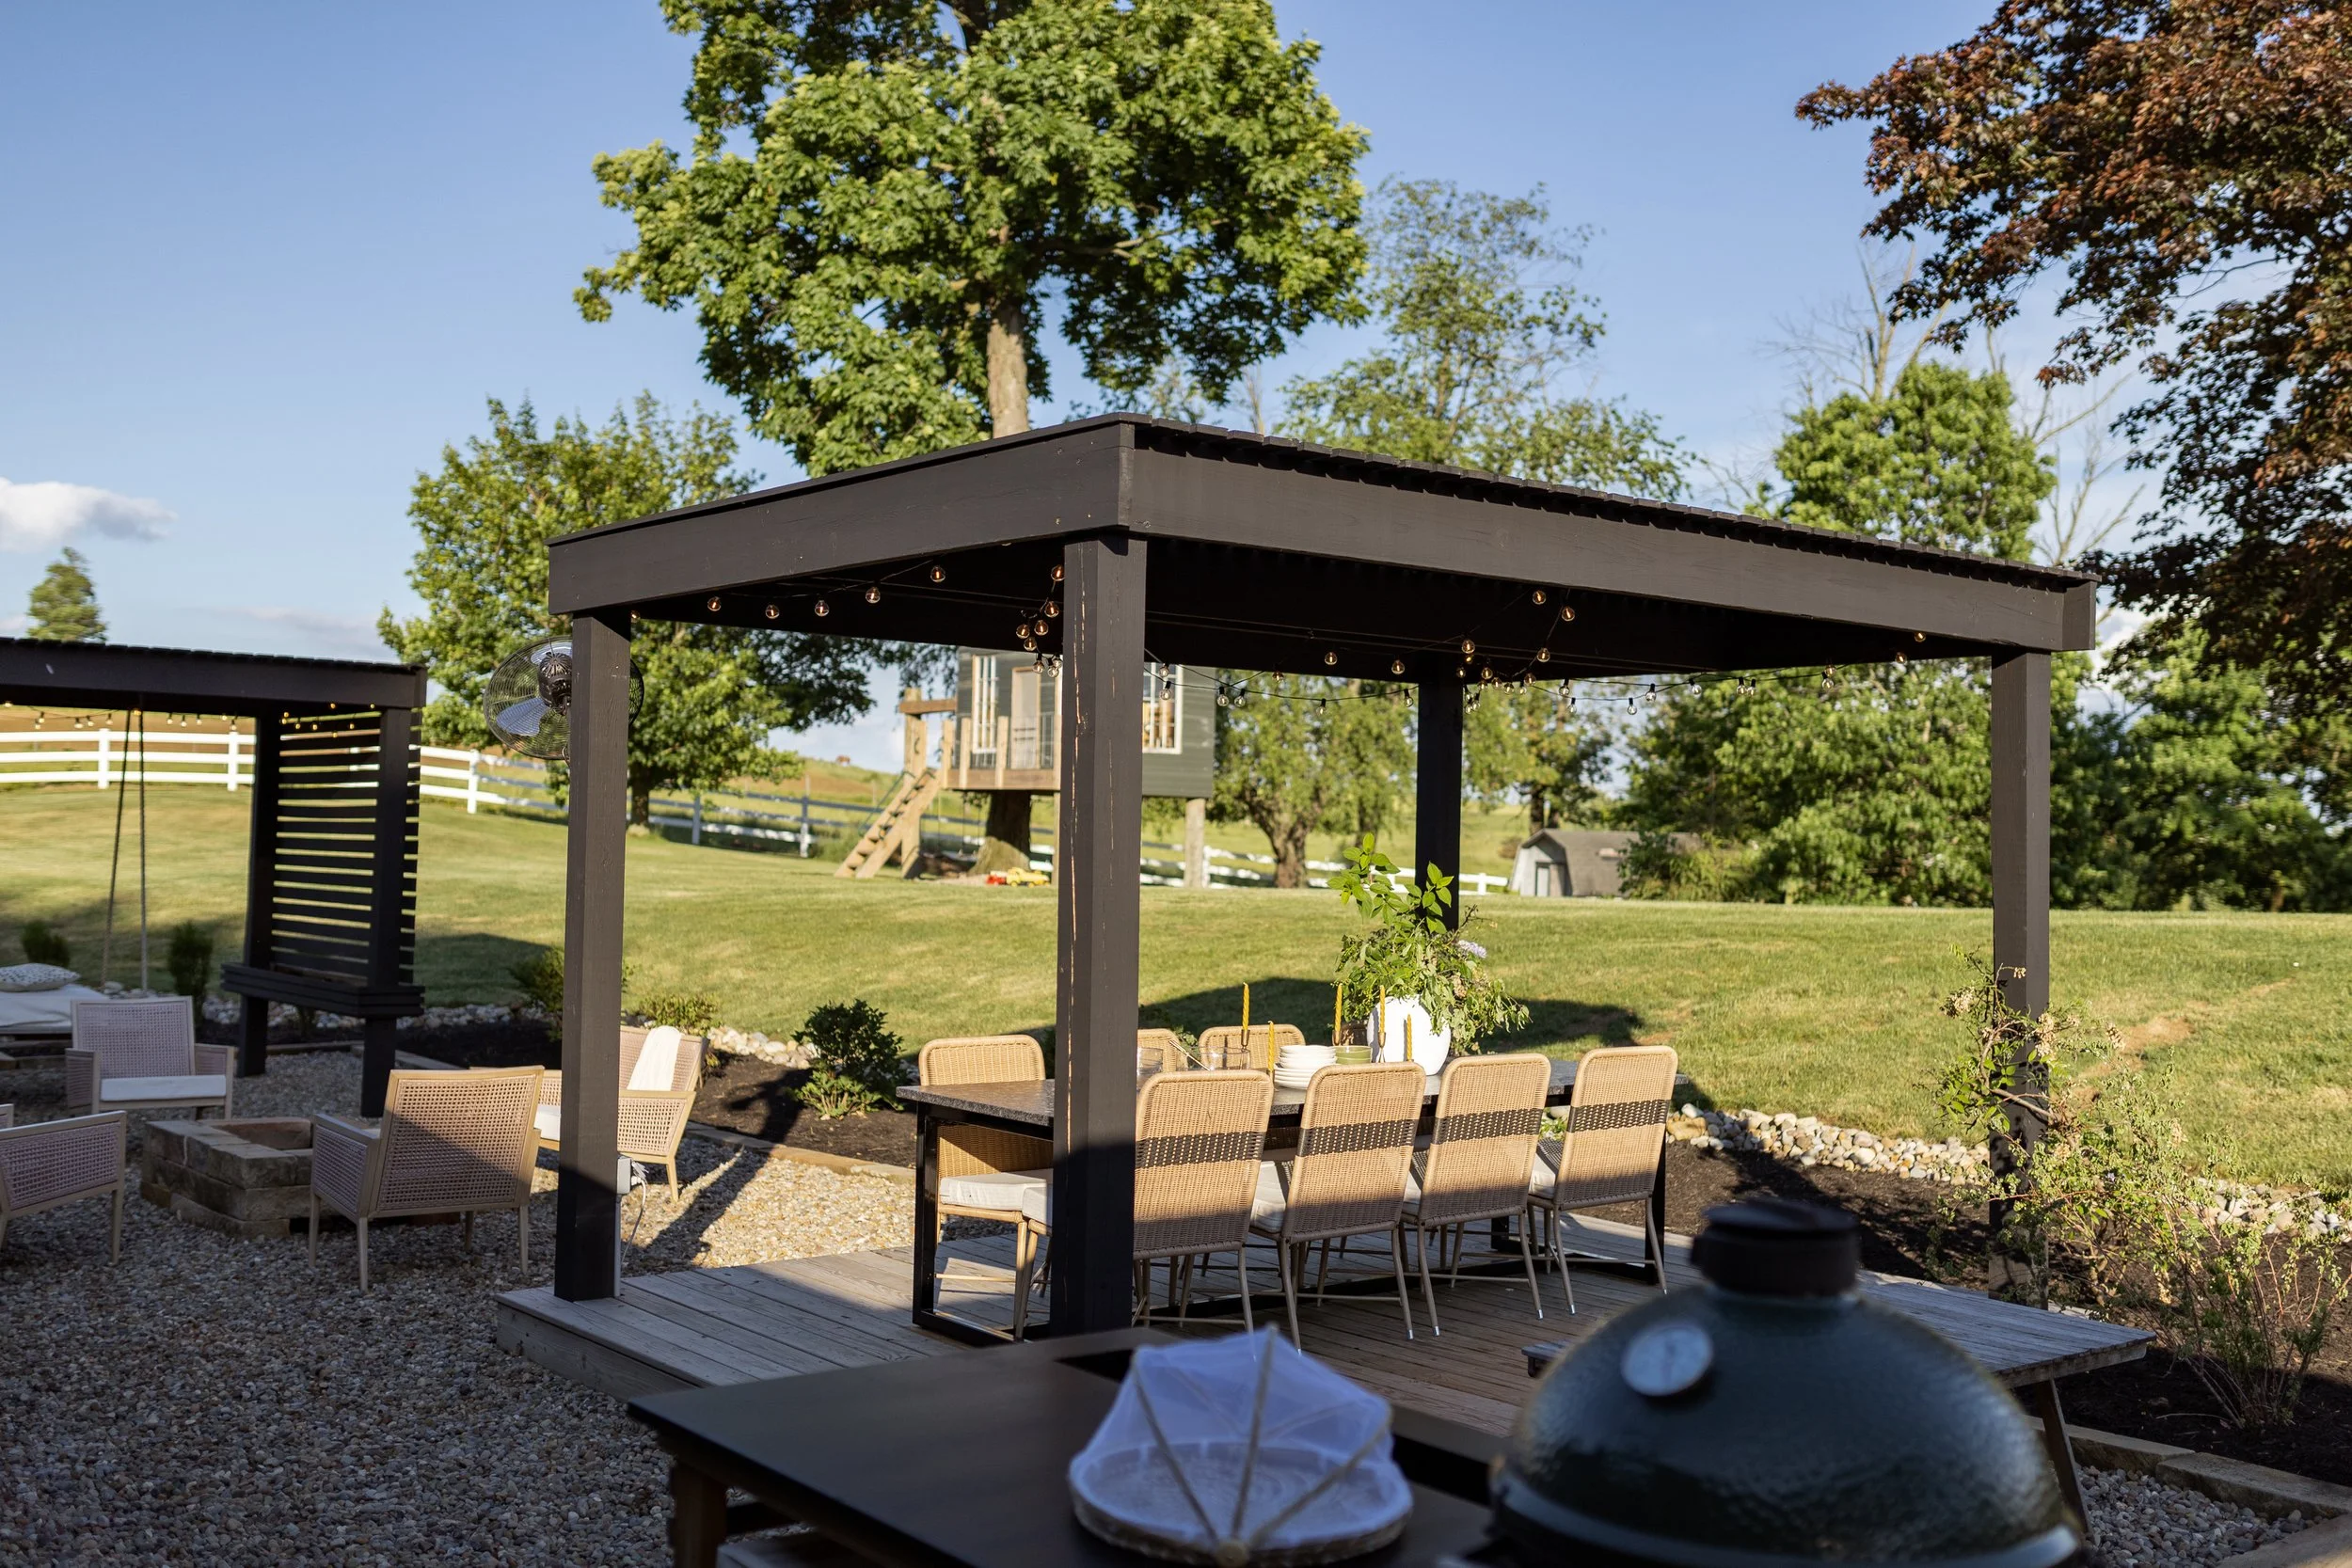
Our home is located on a long, flat ranch, so to create some visual interest in the backyard, we raised the dining area on a wood platform and covered it with a tall, jet-black pergola. Nearby, we added a kid’s table from Ikea that we cut down to a suitable height.
Plan
After
Built-In Grill Station
04.
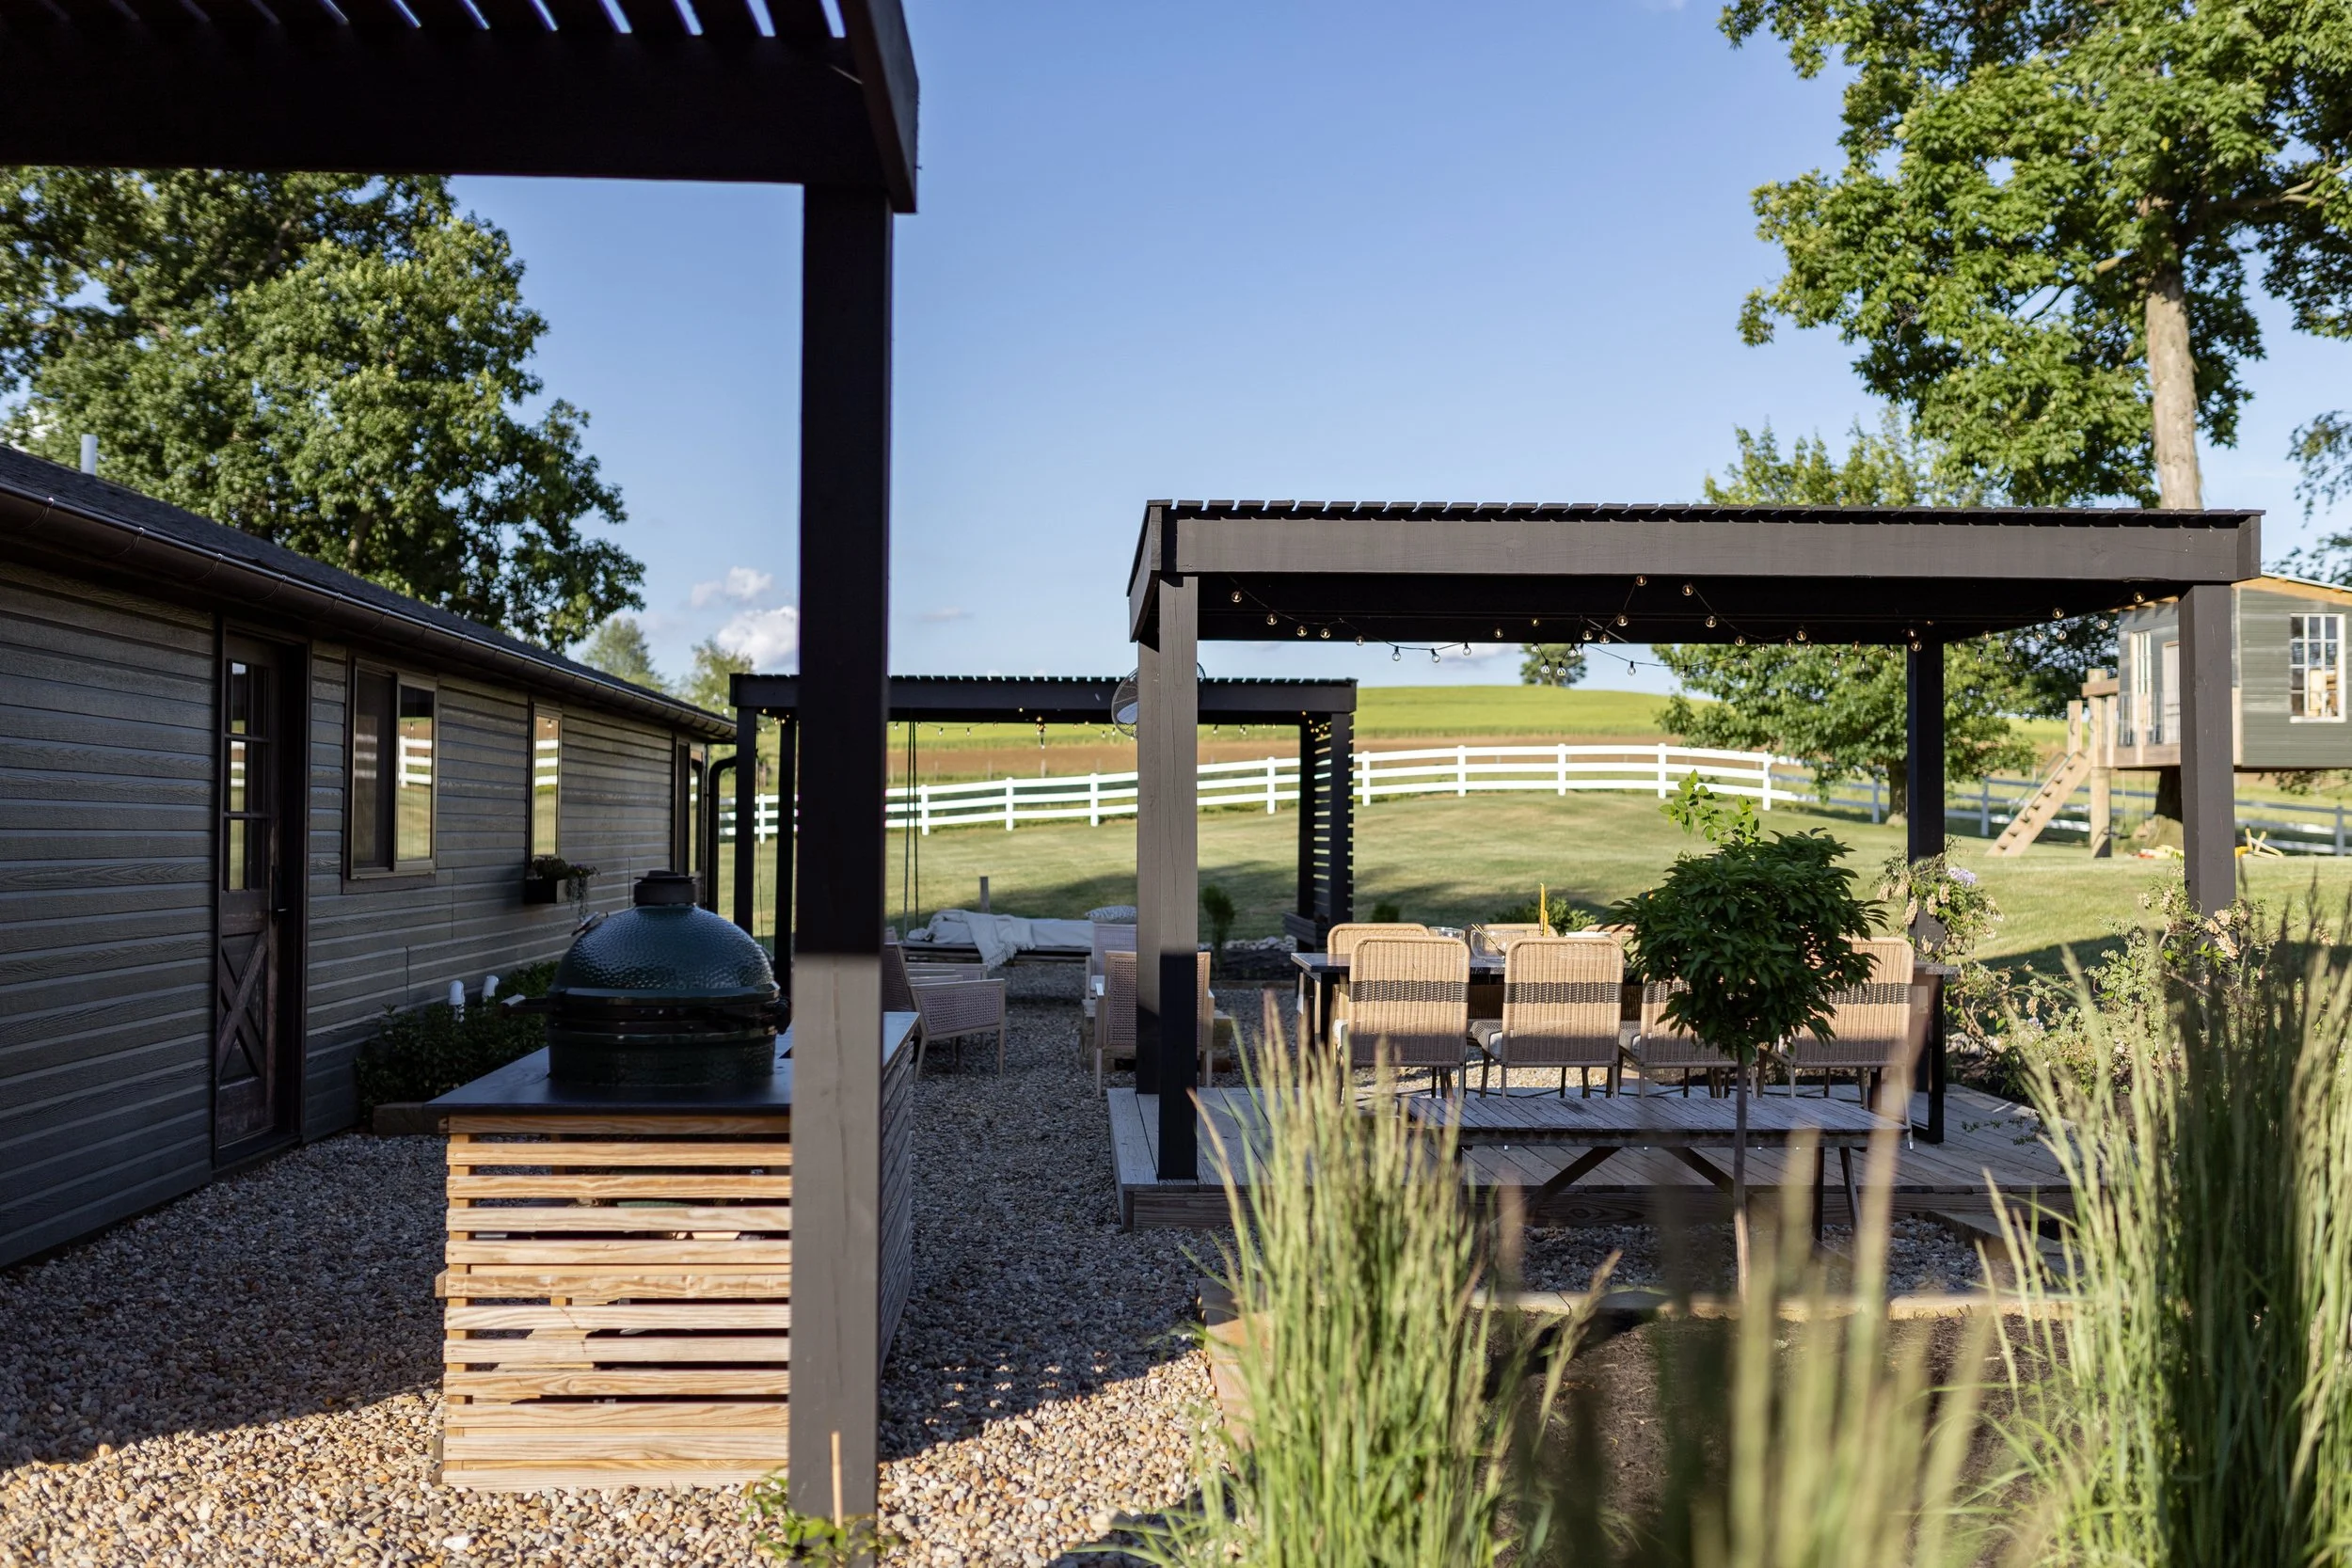
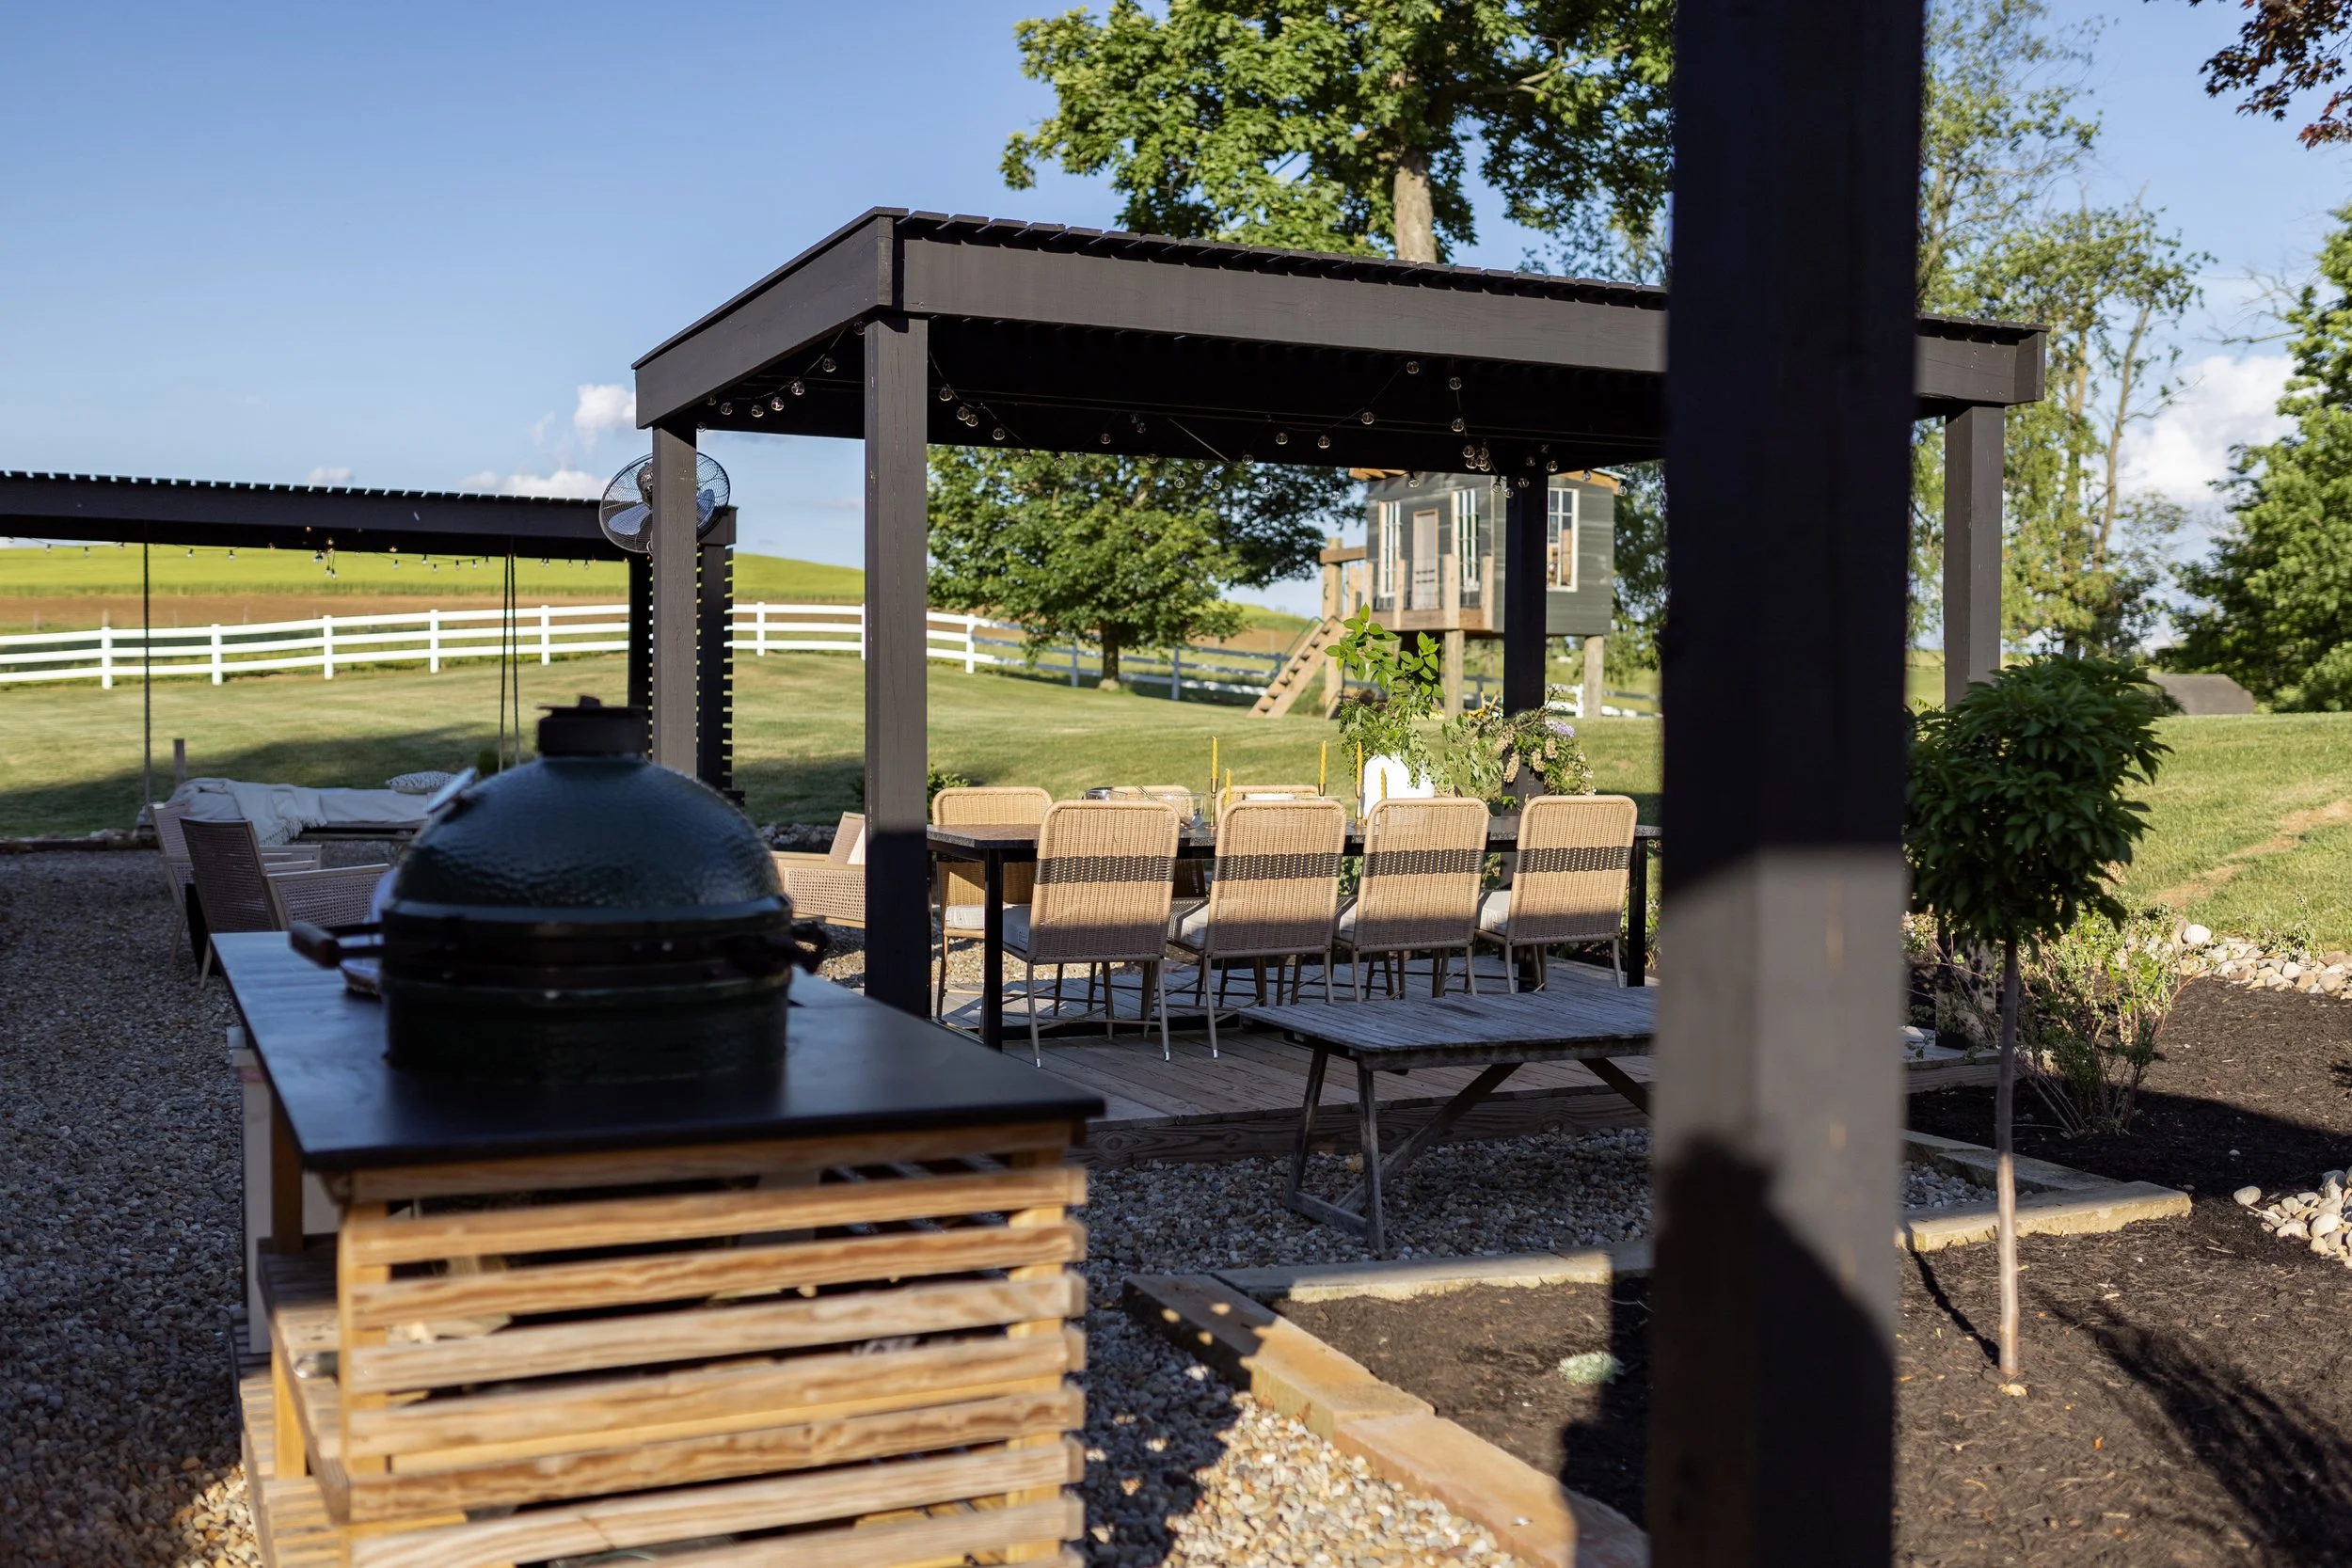
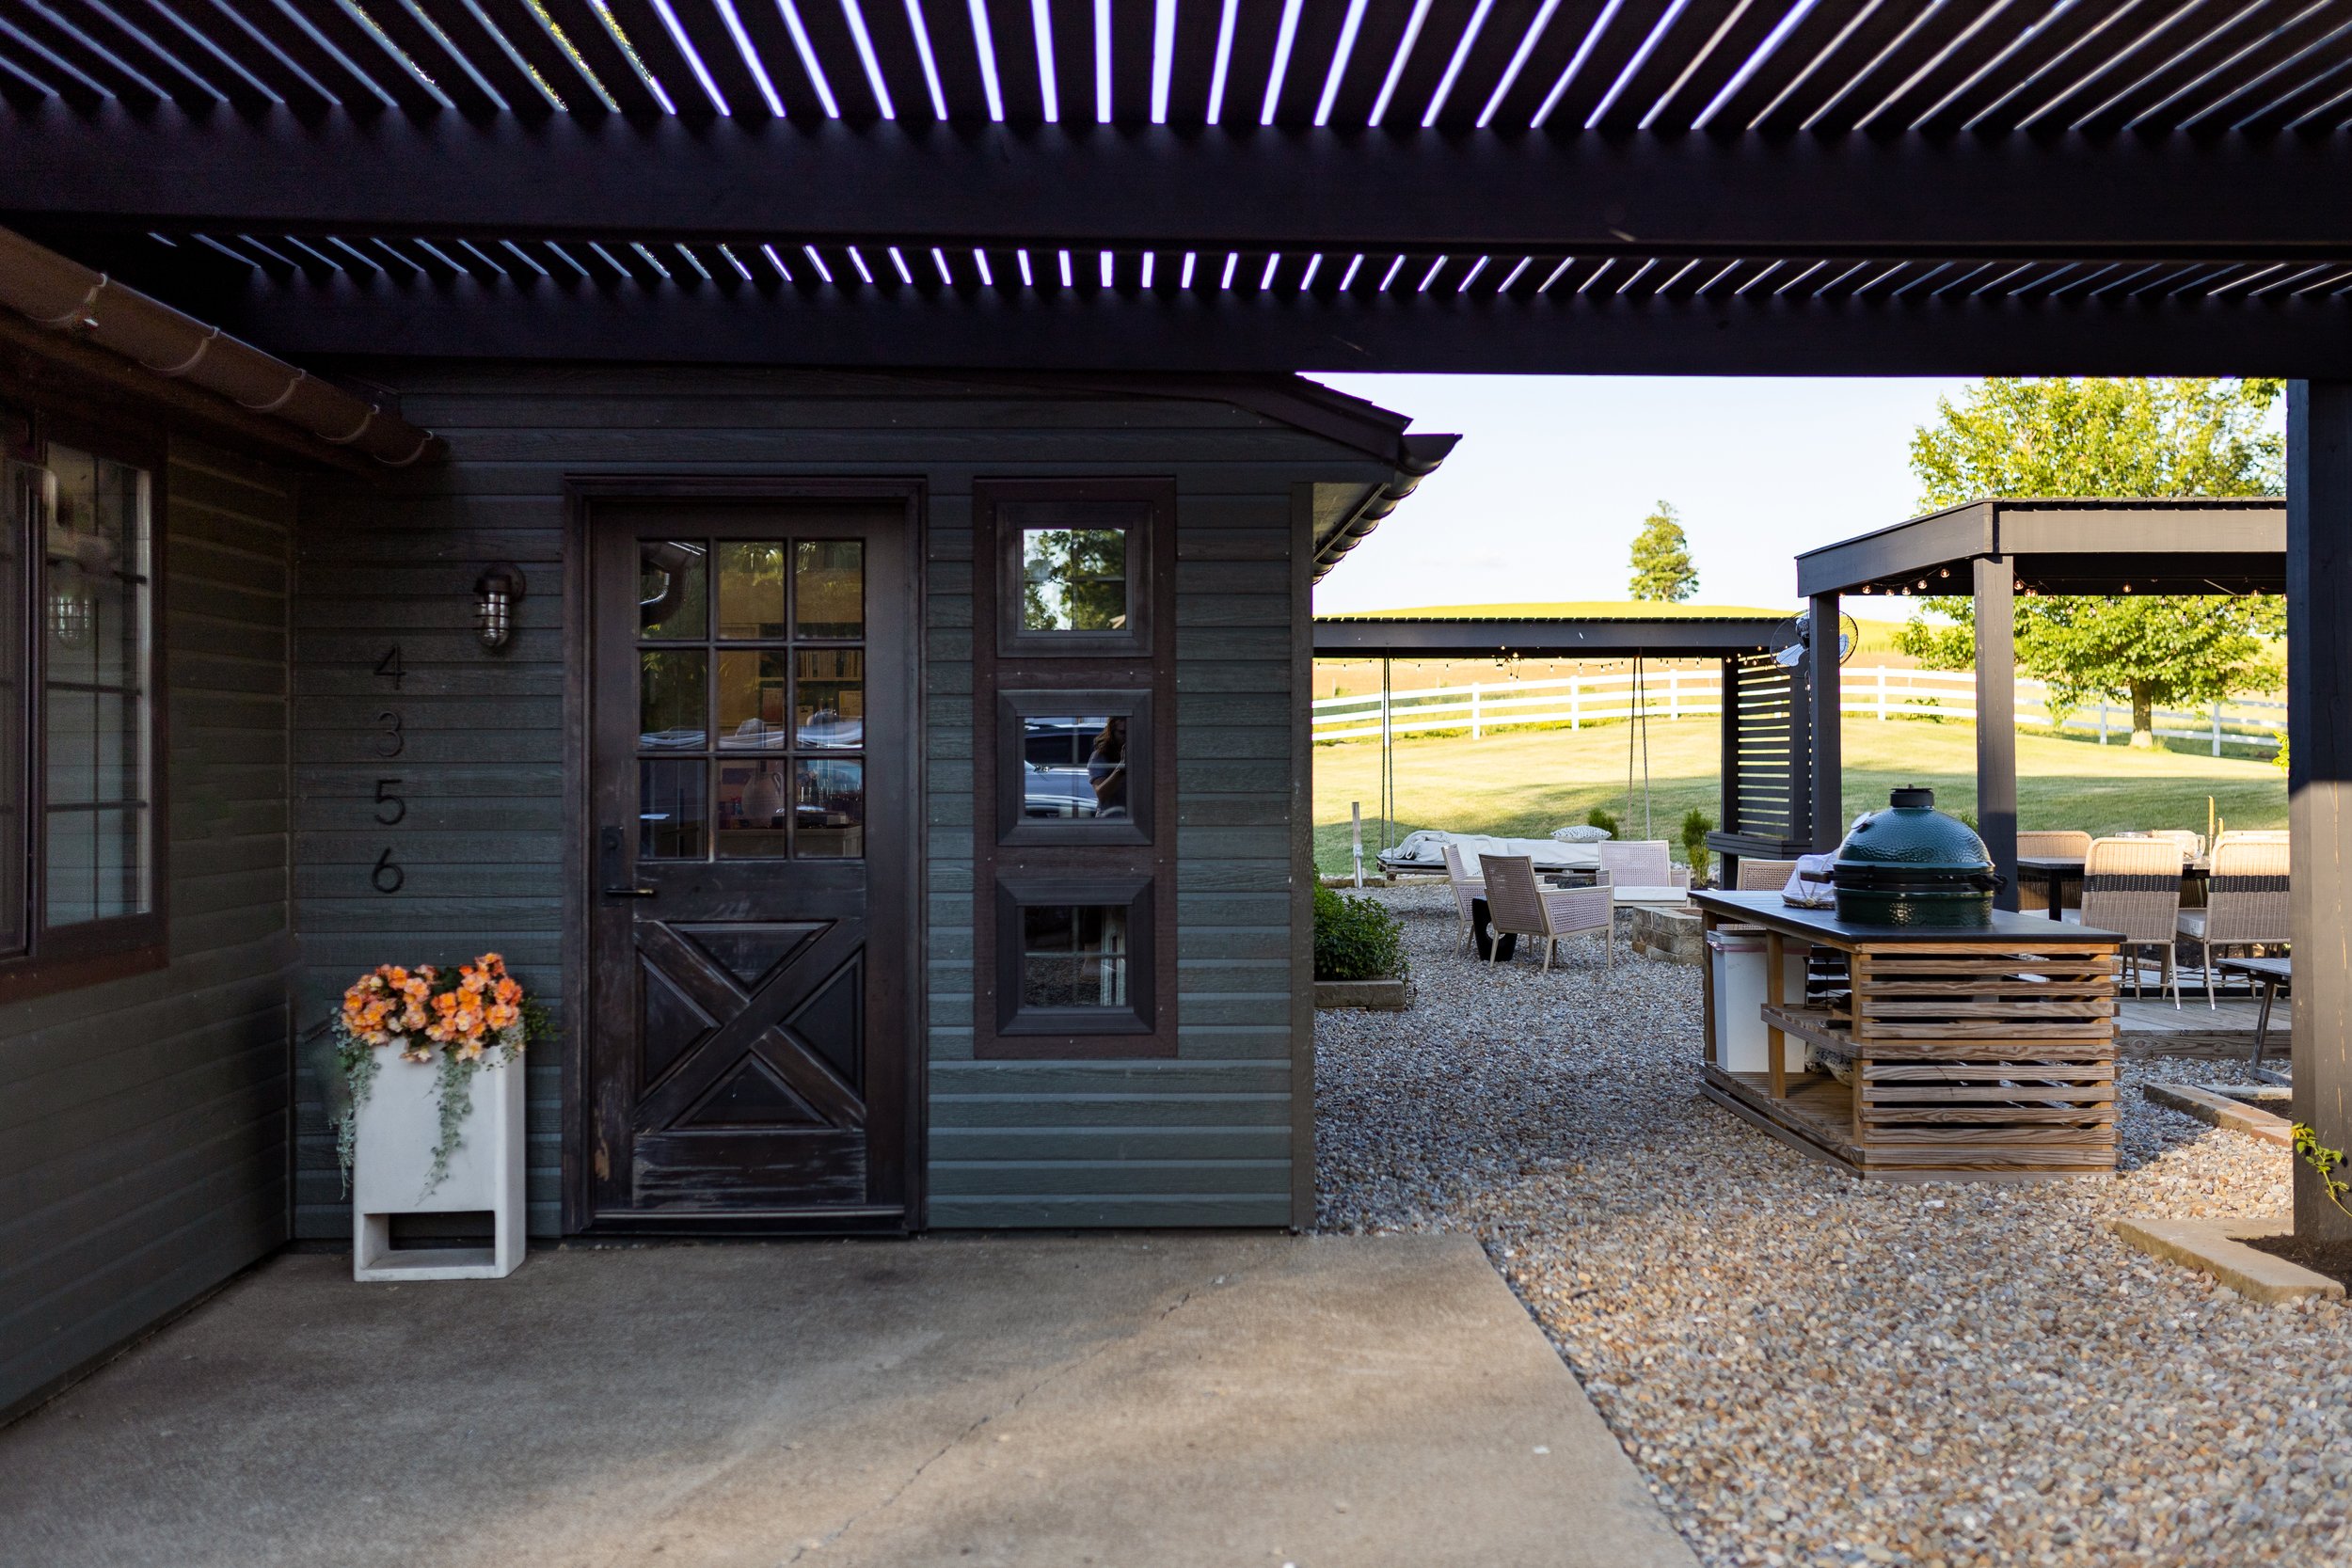
Kyle loves to use his Big Green Egg smoker, so we chose to put it on display by building it into a wood slat island with an added ice trough. We placed this station very strategically: it’s in close proximity to the kitchen and the dining table outside.
Main Entrance + Play Area
04.
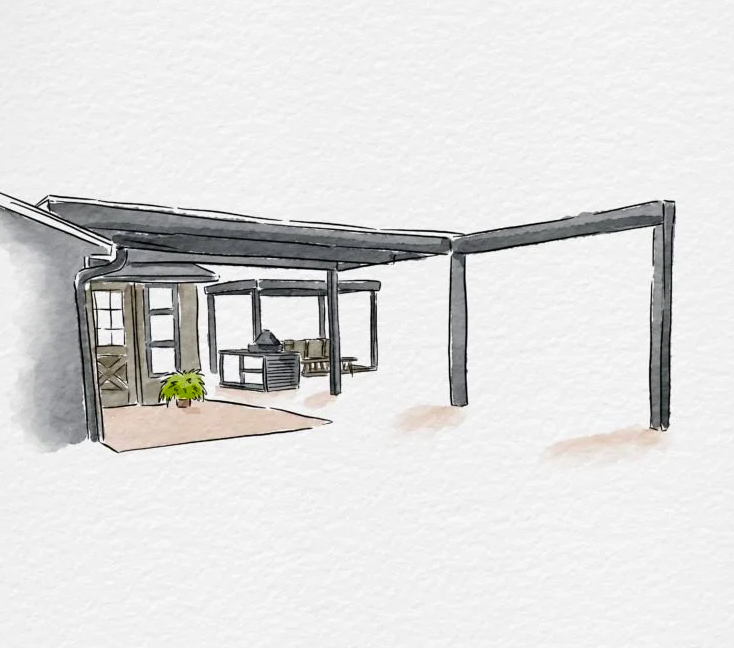
Before our remodel, we only had two exterior doors: one in the front of the house and one out back. But we really wanted to improve the flow of the house, both inside and outside, so we added a new door and covered it with a pergola to protect it from the elements. As a fun little touch, we also added a swing and concrete pad where the kids can ride their bikes.
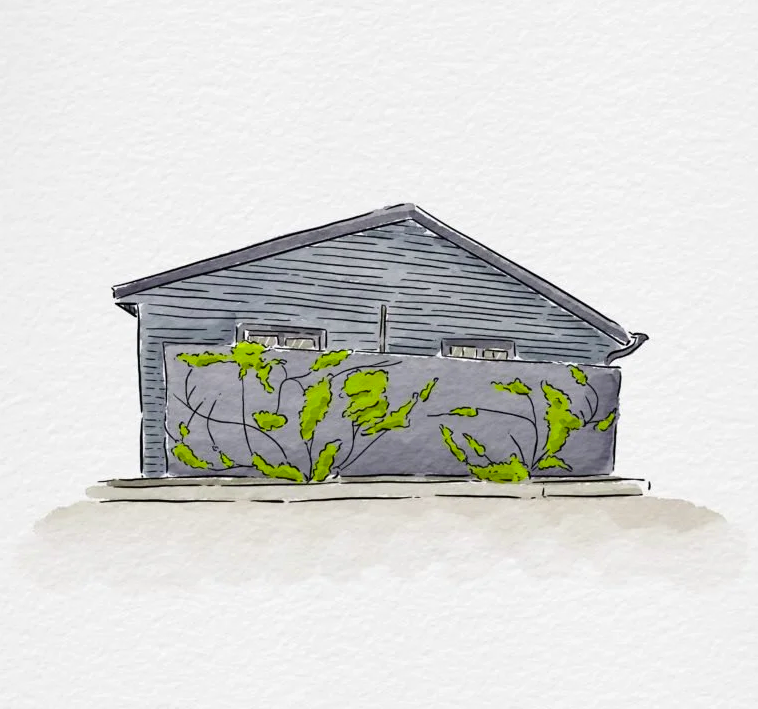
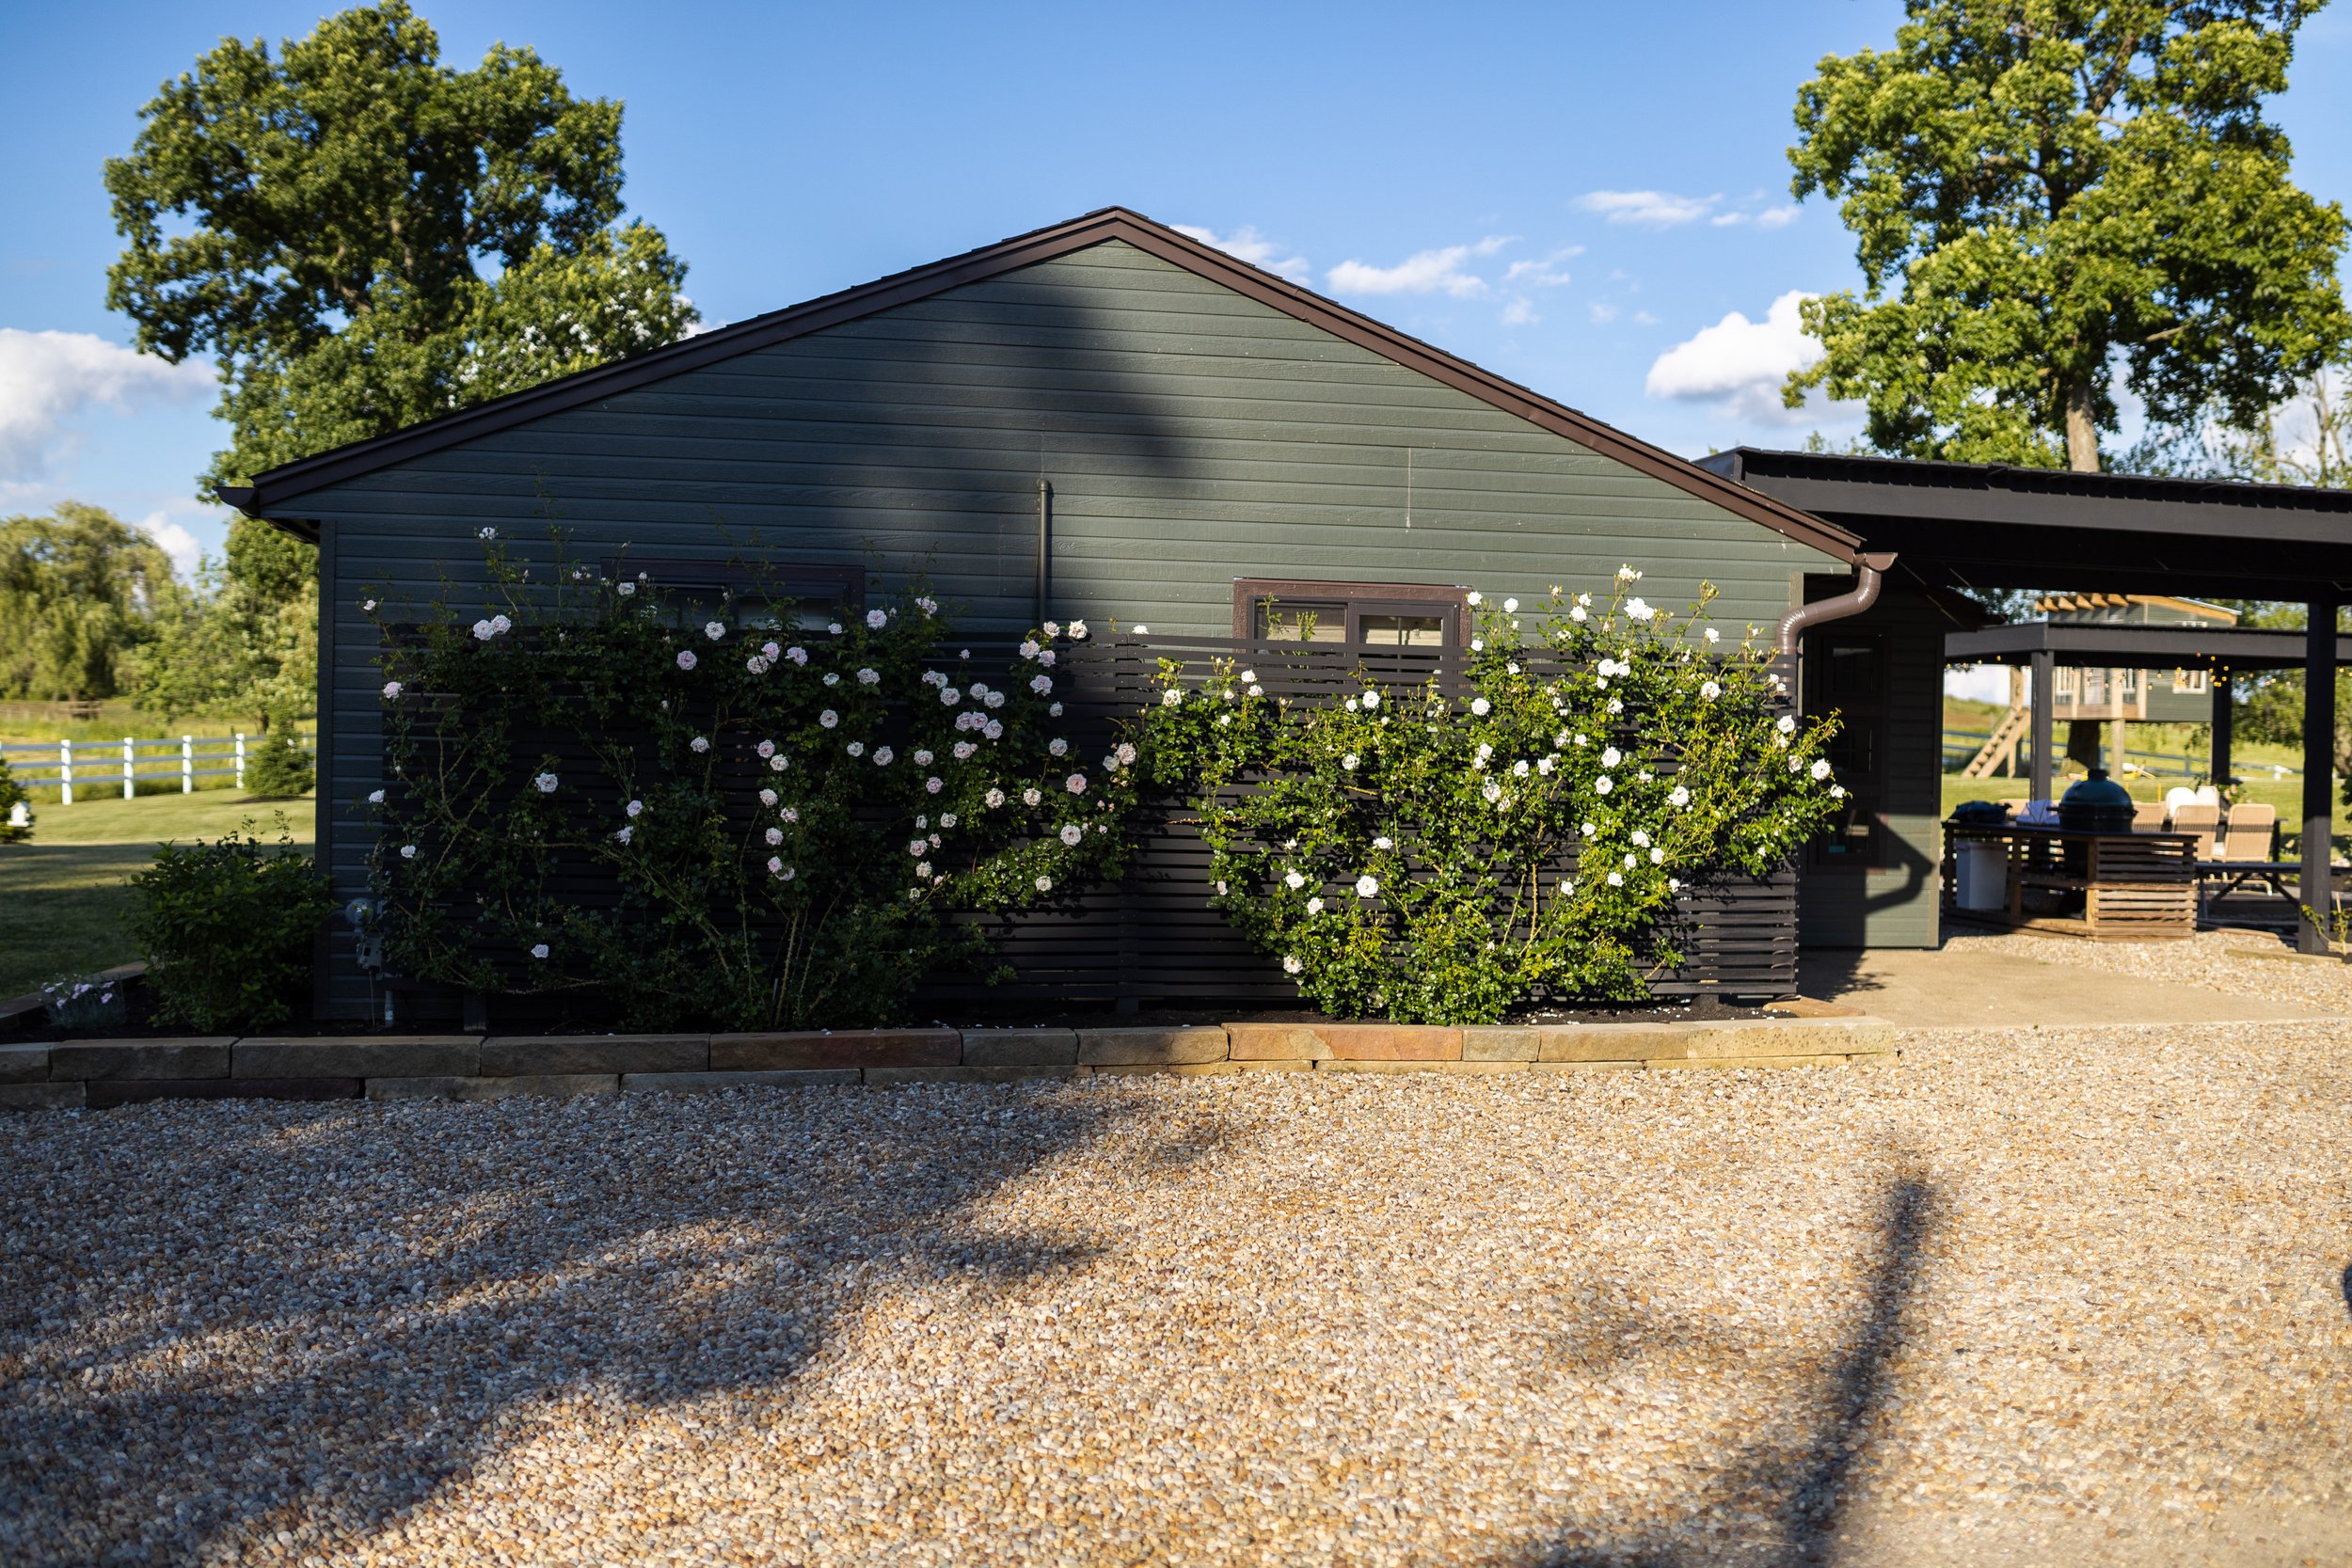
All the added space for play and entertaining was great, but we needed to ensure people couldn’t see directly into our windows. To achieve privacy but maintain our modern cottage exterior aesthetic, we blocked our master bed and bath windows from the main driveway with a black lattice privacy wall covered in New Dawn climbing roses.
Plan
After
Plan
After
With these exterior updates, we can finally say that the Tucked In Cottage on Bunker Hill is complete... for now. (We’ve toyed with the idea of adding a pool at some point!) But all in all, we’re proud to say that we completed this exterior remodel ourselves—and we fully believe that you can accomplish a backyard DIY, too! However, if you think you may need some assistance bringing your exterior dreams to life, contact S. Flynn Design + Build today!